jedihobbit
Rated XXX

|
 Posted: Wed, 09 Apr 2008 01:17:14 Post Subject: Modding a HighSpeed PC Tech Station Posted: Wed, 09 Apr 2008 01:17:14 Post Subject: Modding a HighSpeed PC Tech Station |
 |
|
This is thinly veiled excuse to âshow offâ another of my projects because this is what Iâm used to set up, test and OC DreamCatcher v2.0âs mobo assembly!
While I realize this is not a case, it is a mod!
In â06 I got lucky over at vhforums and won myself a Tech Station from HighSpeedPC. Wasnât too enthused with the idea of the motherboard on the bottom so when I saw a how to change this at virtual-hideout, the mod was on!!
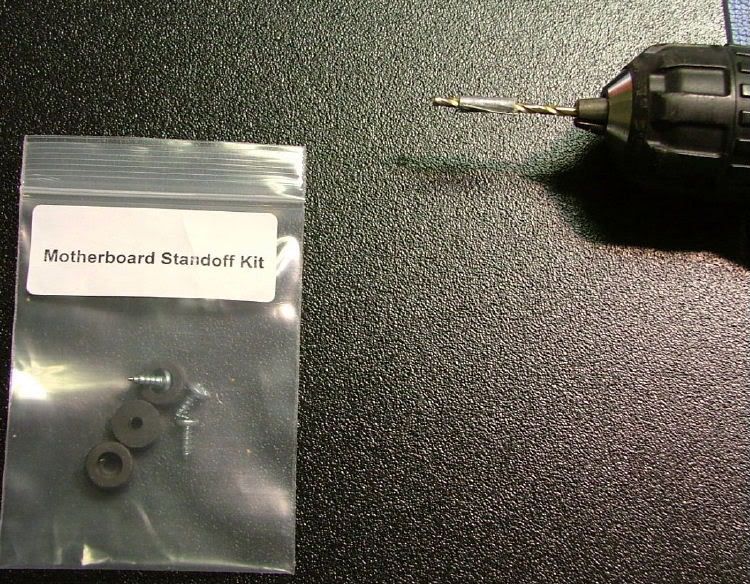
The parts out of the box.
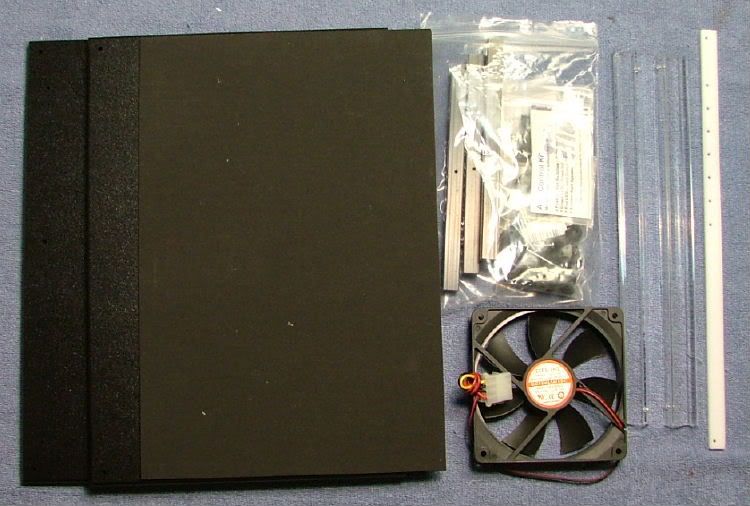
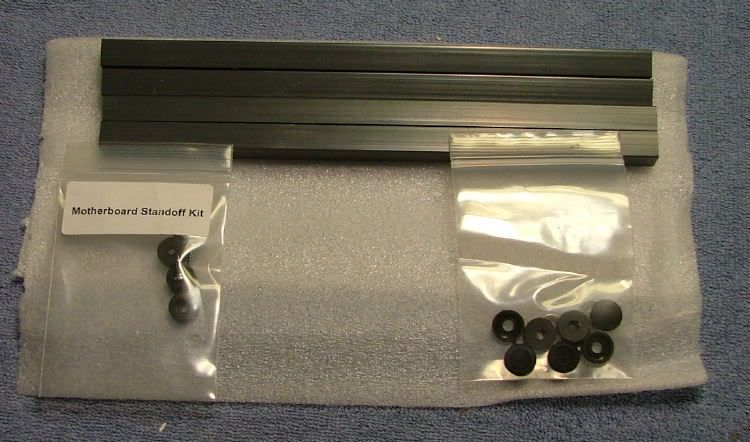
It was at this time I realized that my version would be different from the one from vhforum, as I had won the standard model. The âhow toâ is for the large and all the free space I had envisioned didnât exist. First off ordered extra items, the optional 10â leg kit and the mATX standoff kit (have several mATX mobos!).
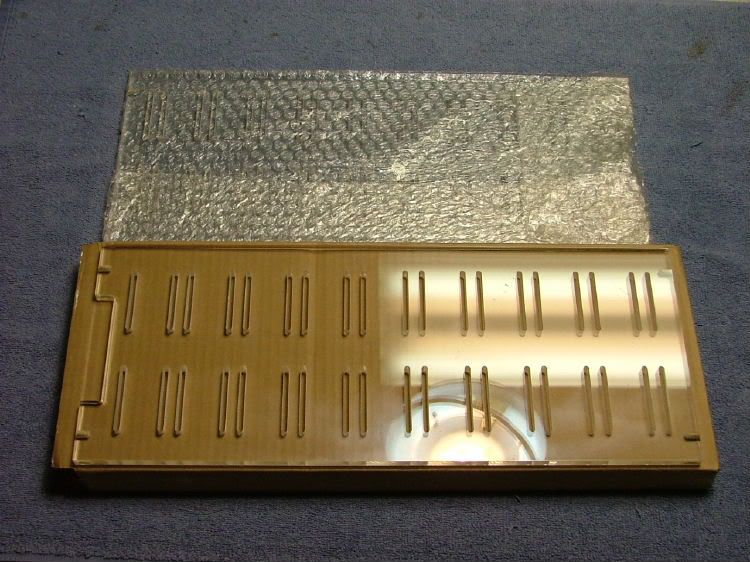
One of the original reasons for this mod was to use it for running the âinnardsâ of Celtic Spirit (again on indefinite hold) until the âengineeringâ of the case was finished and the box ready to go. This required me to plan for one or two optical drives and three HDDâs. The original design only allowed for 1 HDD, so over to performance-pcs for some AC Ryan goodies and this arrived.
After all the parts were in had to figure out what needed to be done. Referring to the stock instructions and the mod guide I kinda sorta knew what I wanted to do, maybe. Because of needing to mount the HDD side plates, one more item was added to the Lowes shopping list mention in the vhforums article. Lowes #880729, Pan Head M3 x 16mm bolts.
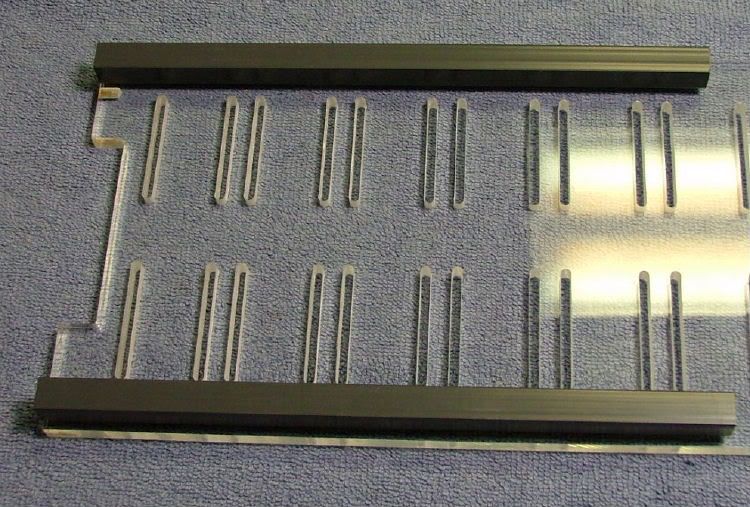
The first thing I did was make the top the bottom.
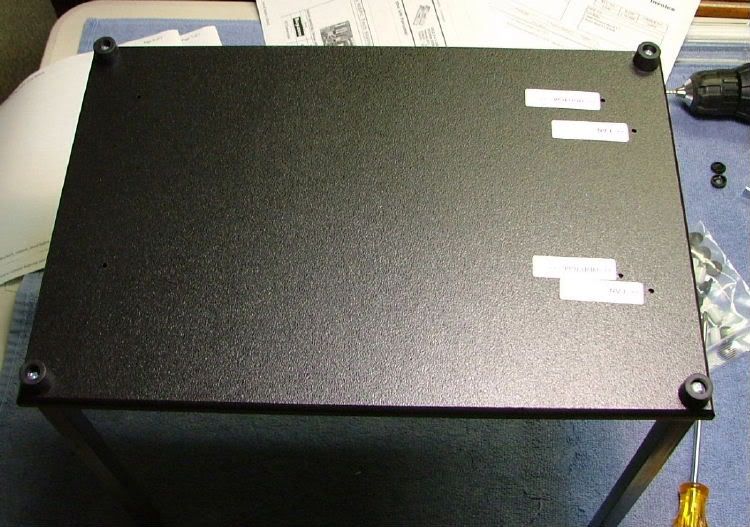
Then mounted the mobo standoffs on what is now top plate using the pre-drilled holes. At this time I added the âoptionalâ mATX standoffs. Caution, there is an error in the online instructions (it may have been corrected as I notified them) that states to use a 7/16â drill for the pilot holes USE A 7/64â DRILL! In the pic youâll notice my ¼â dept gage for the drill â retro but it works (gotta love duct tape!!). And then all in place.
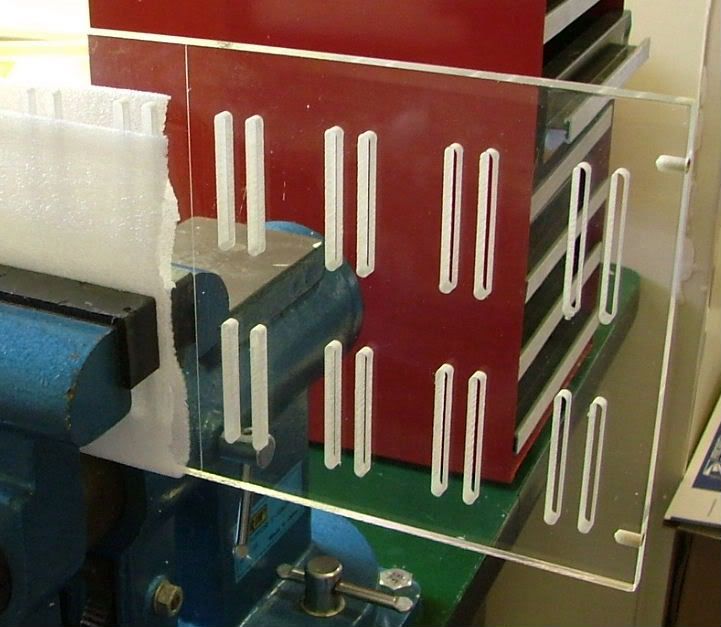
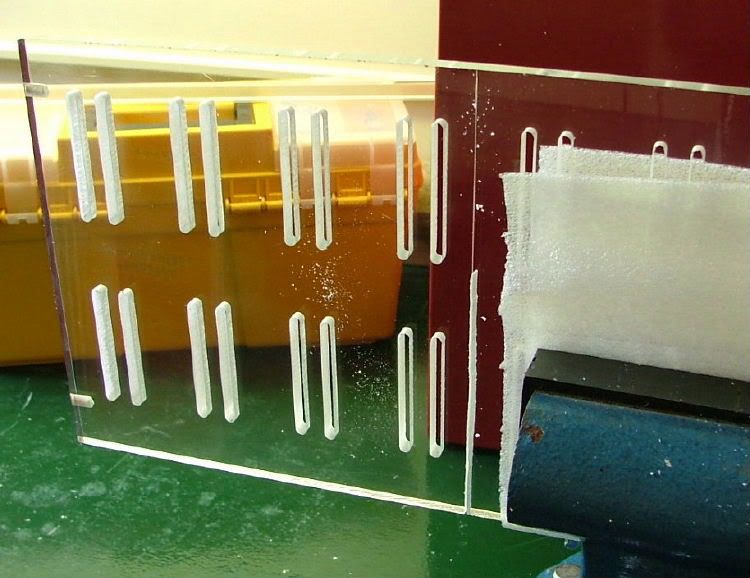
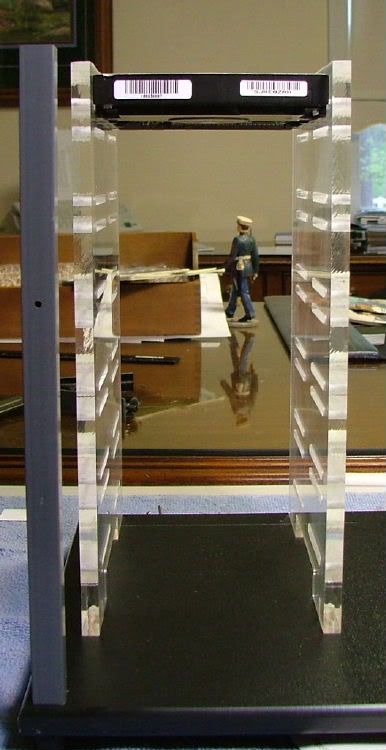
Next on the list was to shorten the acrylic drive plate/panels to match the 10â legs. So why not just use the legs as a guide!
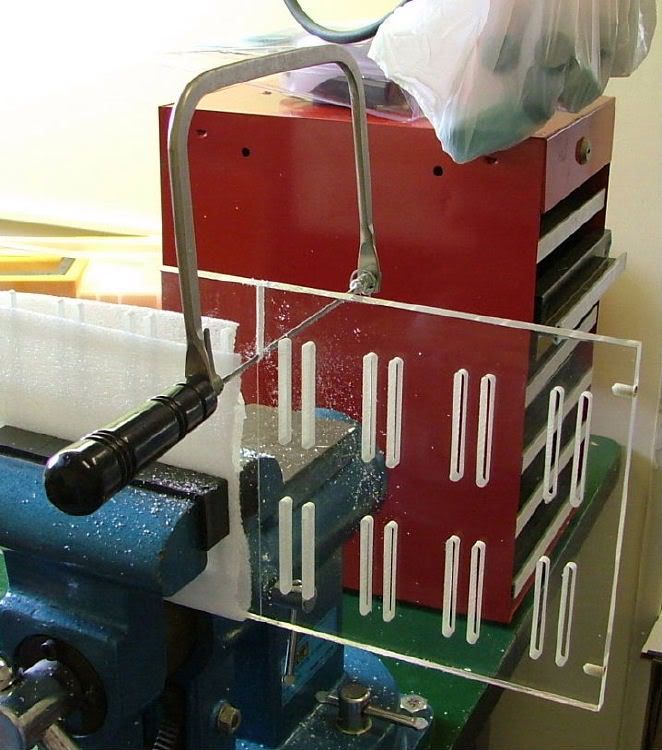
So into the vise they went and here you see getting ready to start, starting, and then turned over to finish the cut. The cuts werenât the best but I sanded for âflatnessâ and then said screw it as the cut wouldnât be seen.
Using a couple of âspareâ half height HDDâs to hold the sides together, it was time to figure out where to put the HDD cage and allow space for a PSU.
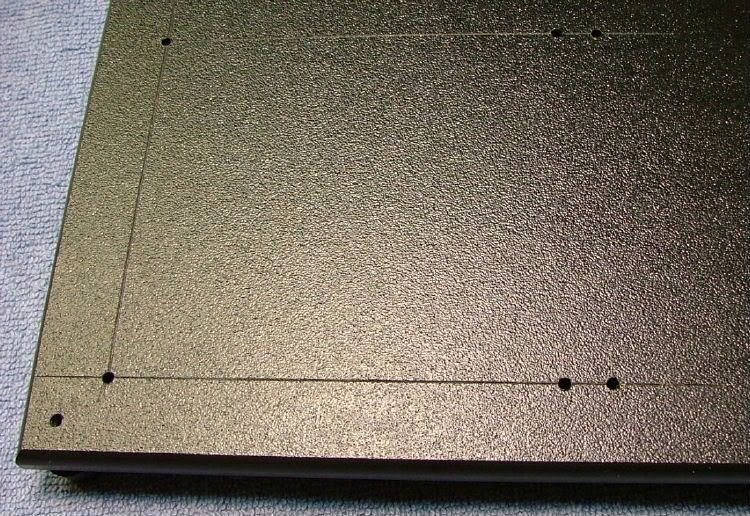
Alrighty then, know where I want it - so time to locate the holes. Easy, just use the down loaded guide!
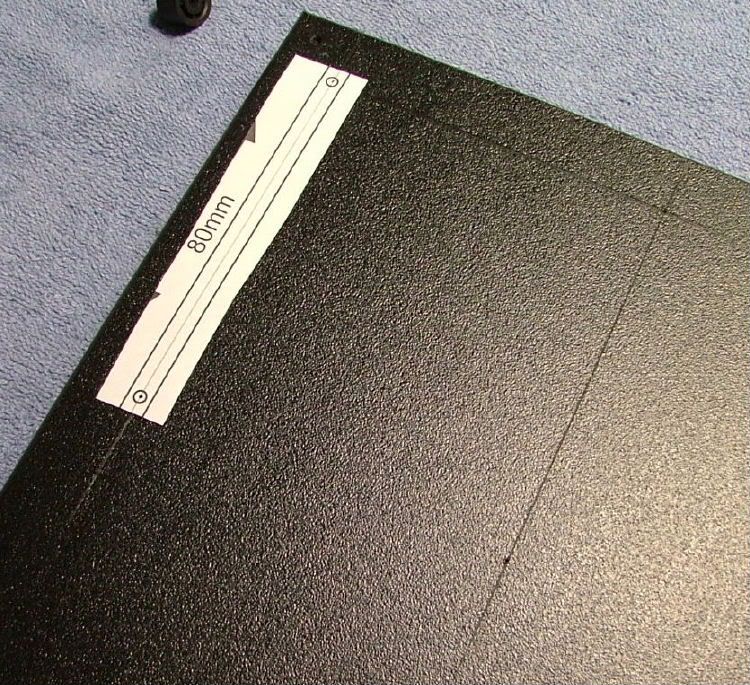
WRONG!! Donât know what I did, but when I printed it out it wasnât to scale!! Re-located two holes (glad these will be hidden!!) and mounted the unit.
When it came time to mount the optical drive, I had planned on doing it the same way as in the âhow toâ article. Unfortunately for me during that time frame I had several cranial infarctions! So there are no pictures that I am willing to release on that!!
The two short legs for the pci-mounting bracket (covered in reference article) were shortened. At this time I hadnât decided the where and how of mounting the fan that came with the kit. There is very little room on top because an ATX board fills the top shelf. A consideration had been given to mounting the fan somehow to cool the HDDs as one was to be a Raptor.
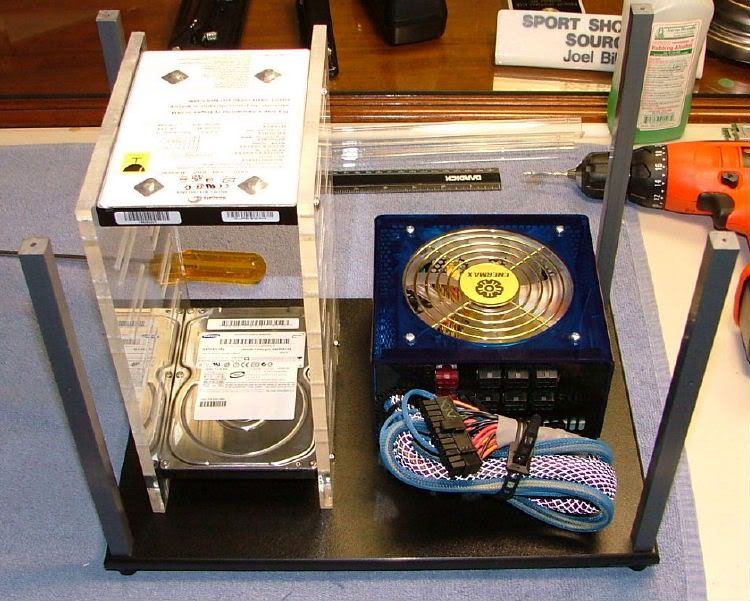
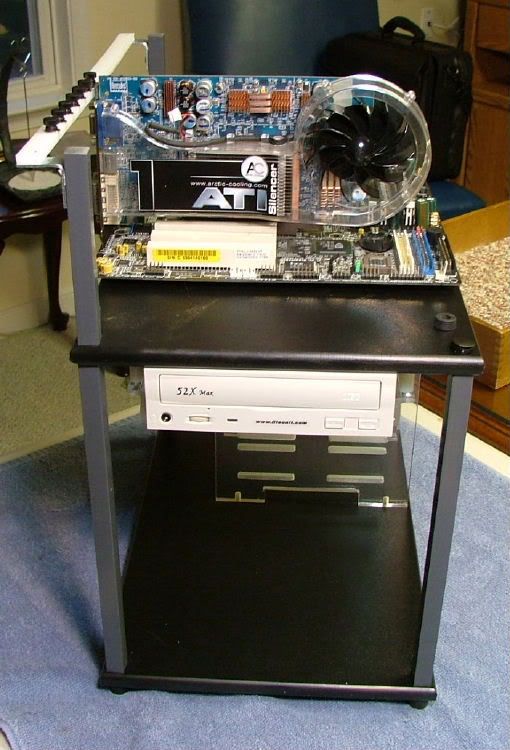
I call this the front, where HighSpeedPC calls it the rear
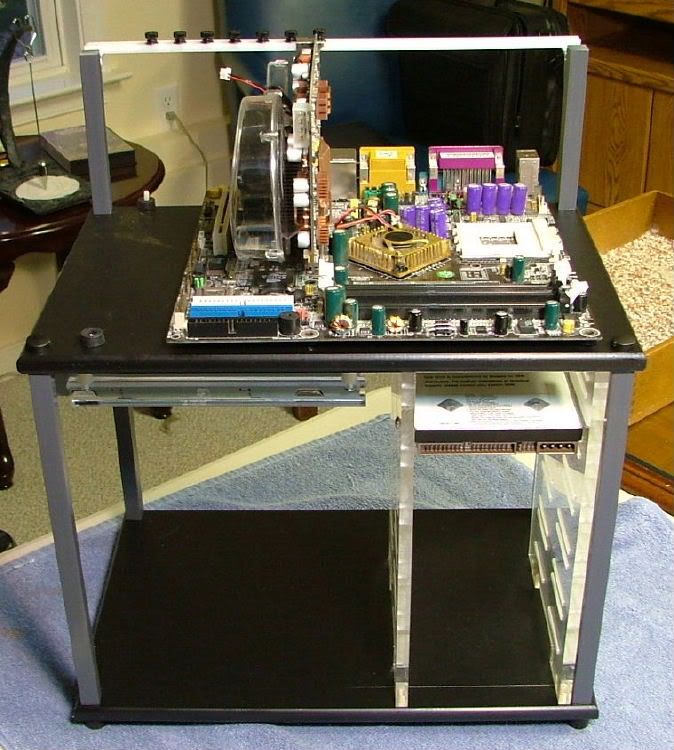
So in theory the mod was complete except for mounting the fans, so here is what it looked like and where HighSpeedPC refers to this view as the front >> to me it is the rear!
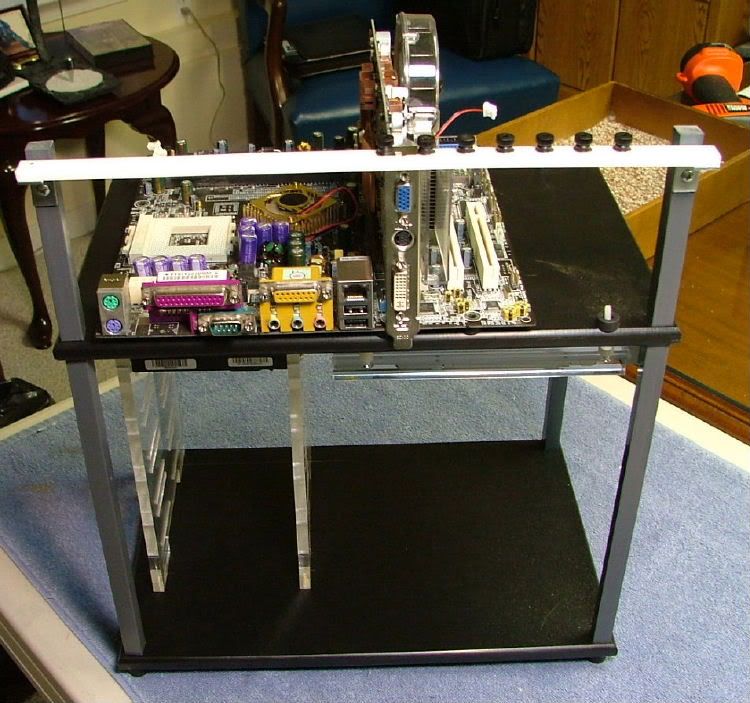
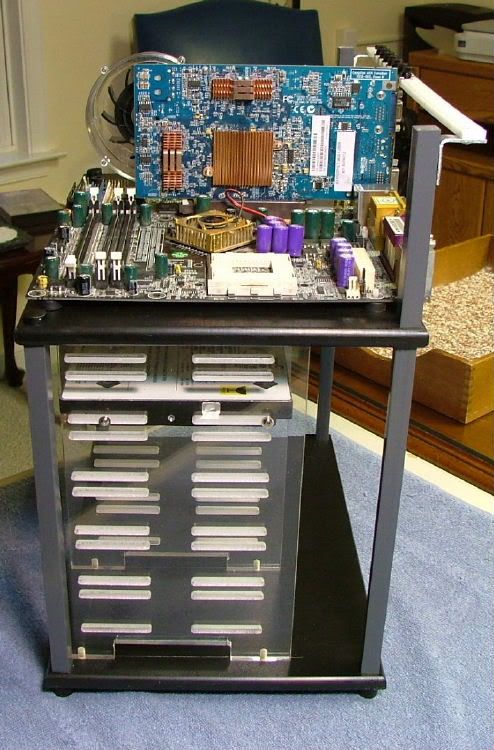
Here is a straight on view of the rear
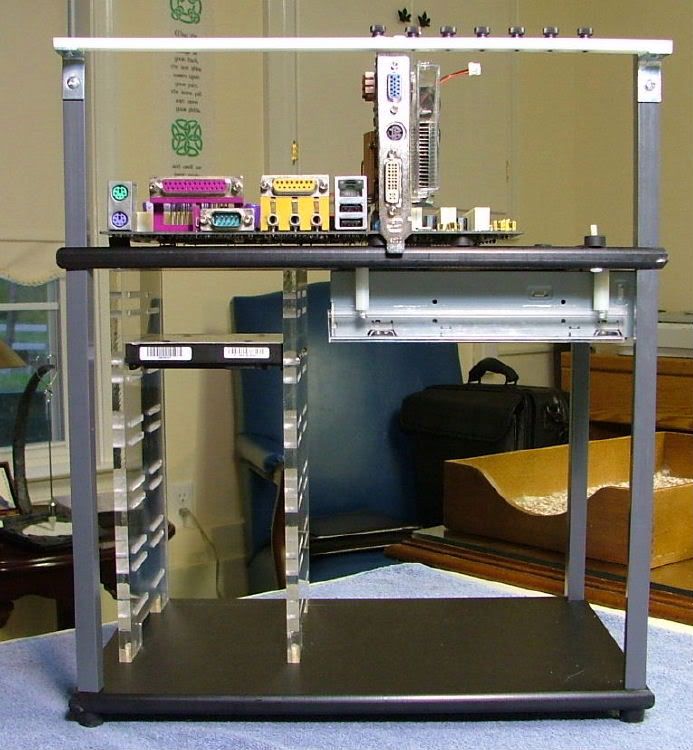
And Iâll finish it off with a view of both sides
Then it was time to figure the how and where to mount the fan Also got a wild hair about possibility of mounting two blue leds at the base of both acrylic side plates. Also needed to consider how the PSU will be mounted, either cut the supplied non-skid material for the bottom shelf or maybe screw mount the PSU to keep it from moving. Heck, havenât even finalized what PSU is going to be used yet!!
To get this far took me approximately 6 - 7 hours where as an organized person could have done it in 3 - 5 and been neater! |
|