jedihobbit
Rated XXX

|
 Posted: Wed, 09 Apr 2008 01:38:53 Post Subject: Posted: Wed, 09 Apr 2008 01:38:53 Post Subject: |
 |
|
04/26 & 27/07
Adding to the Swiss cheese effect that is starting to be the trademark of build is this new design.
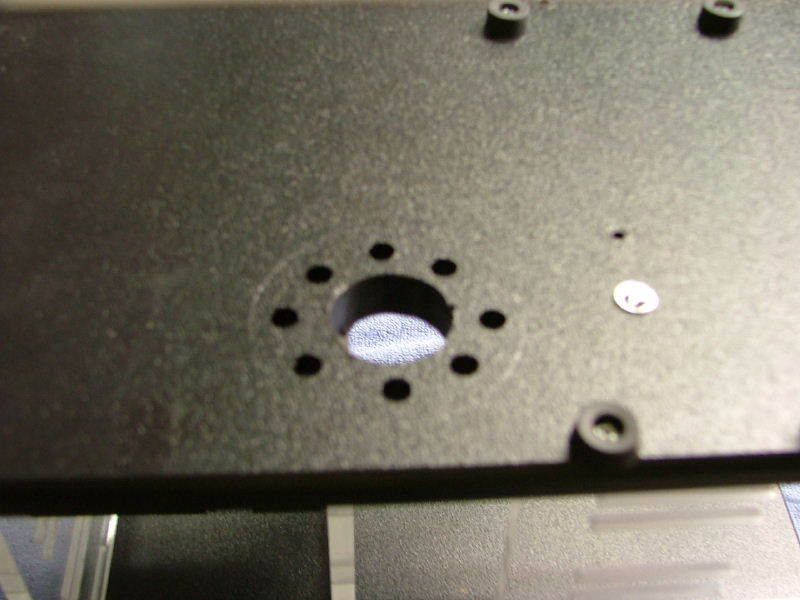
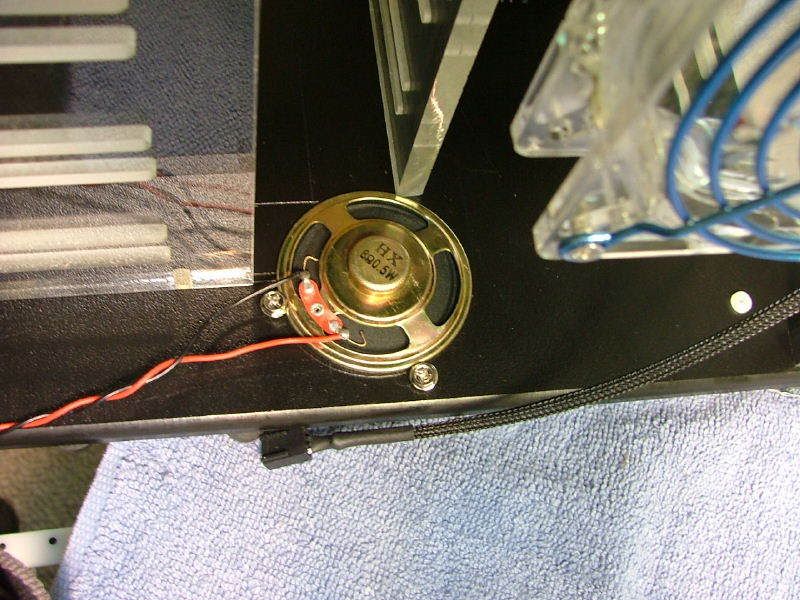
Besides the power control PCB I ditched the wee little provided speaker for one similar to BluHaz reDux v2.0's, a nice healthy 2â in diameter. Had originally planned for it to be in the frame, but dropped the idea after concerns of more holes and a way to mount it. Not having that much room on the âdeckâ it gets mounted under the mobo. One should still be able to hear it with the mobo on its standoffs.
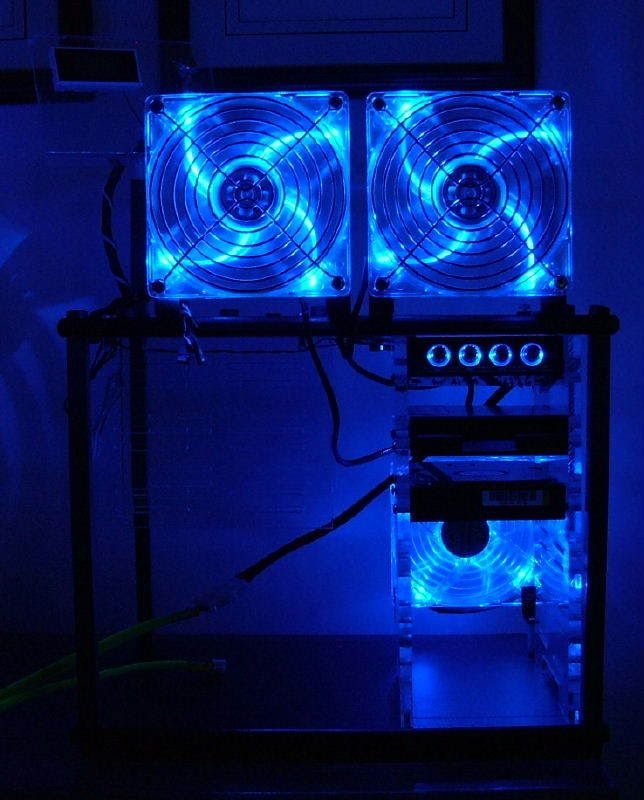
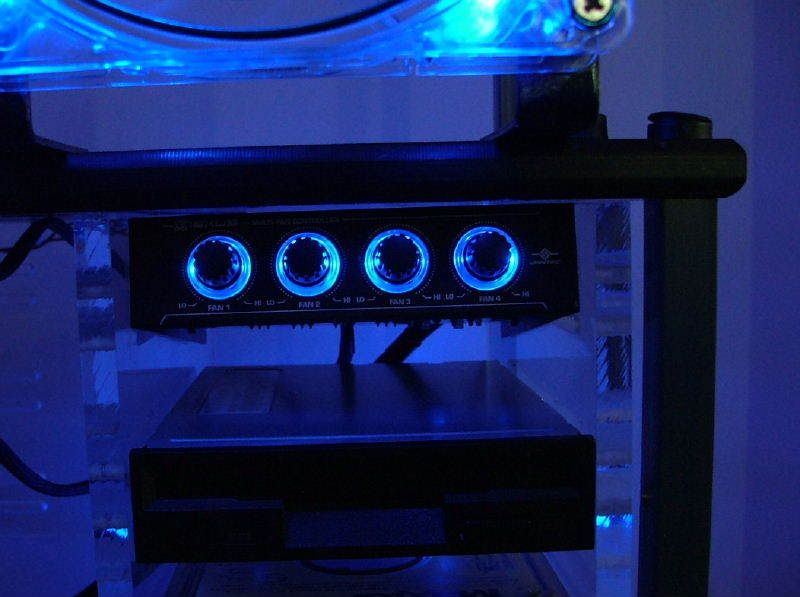
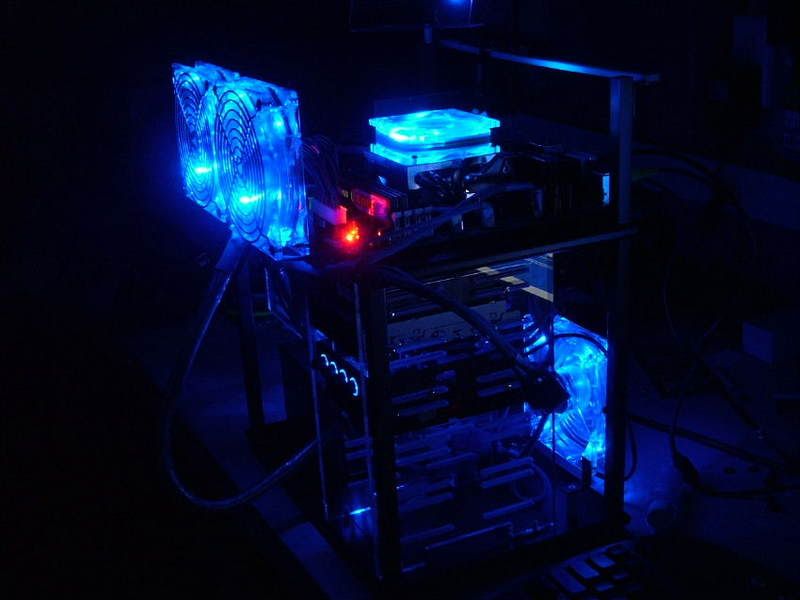
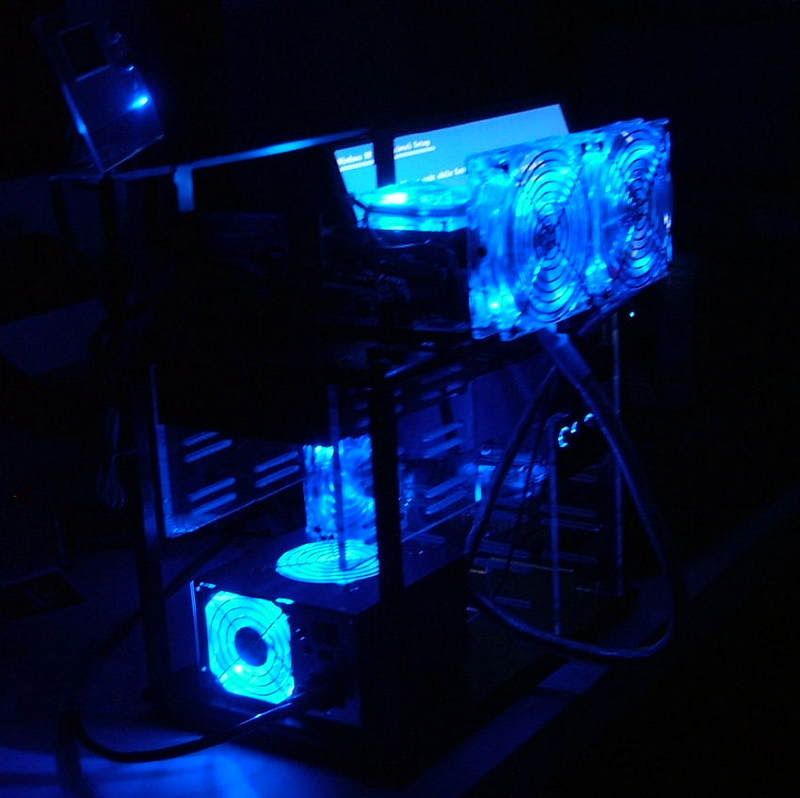
Wanted to see what it would look like lit up so I tied into BH rDxâs PSU and this is what we haveâ¦â¦.first shot is with the fans on âlowâ (dims the leds also) and then on âhighâ. Then I tossed in a look at the 3.25 cage to show the rear fan and a âdetailâ of the fan controller. BTW added that because it was floating around and most likely will never really be required to run the fans full bore.

February 2008
The PSU issue was resolved and by using an old Enermax EG475AX-VE SFMA 470W I had sitting around. The Tech Station comes with a rubber mat that one is supposed sit items on and let their weight hold them in place. This PSU will not let me do that â time for a history lesson. This unit was the second one I had customized by performance-pcs for Celtic Spirit. Had the cables âmodularizedâ (this is before manufacturers started doing it) and sleeved. As this was going in a full server style box tight bend rads on the cables werenât an issue. So to make the mobo related cable look different I had them done in the âReflex Stainless Steelâ sleeving. Now that stuff is hard to bend so that alone determined how I have to mount the PSU.
For those of you who have the windshield mounted âFast Passâ â âMulti-Passâ â âEZ Passâ for toll roads will recognize these
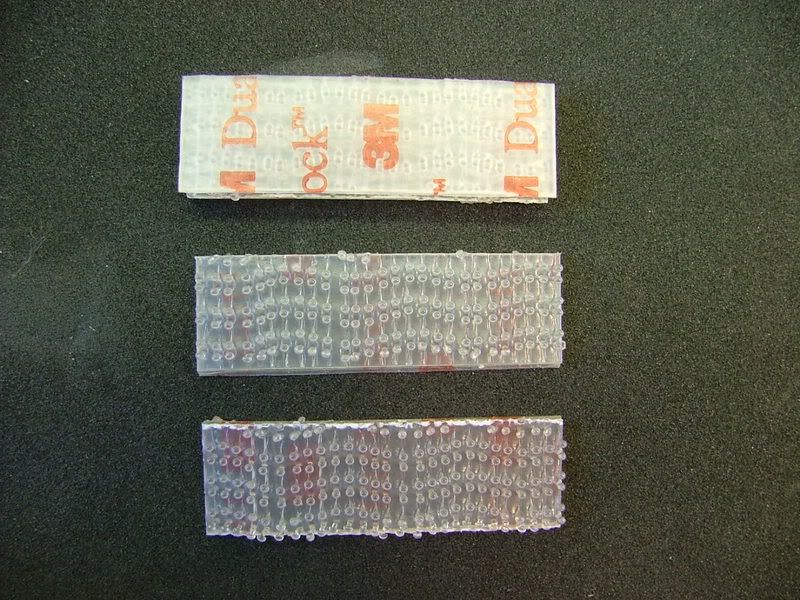
The interlocking tabs a courser and stiffer than Velcro and lock together real well, and the mounting adhesive seems to be fairly strong also. As this particular unit is âsquareâ I used two (will add two more later) and located on the bottom of station. The reason for adding the second pair is so I can rotate the PSU 270 based on how much cable is needed to reach the mobo.
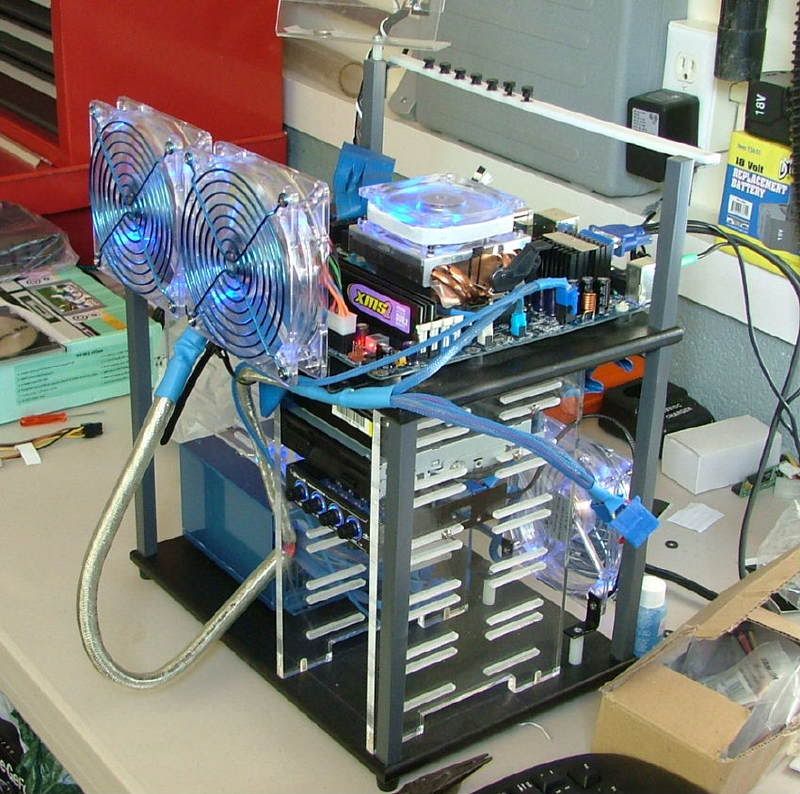
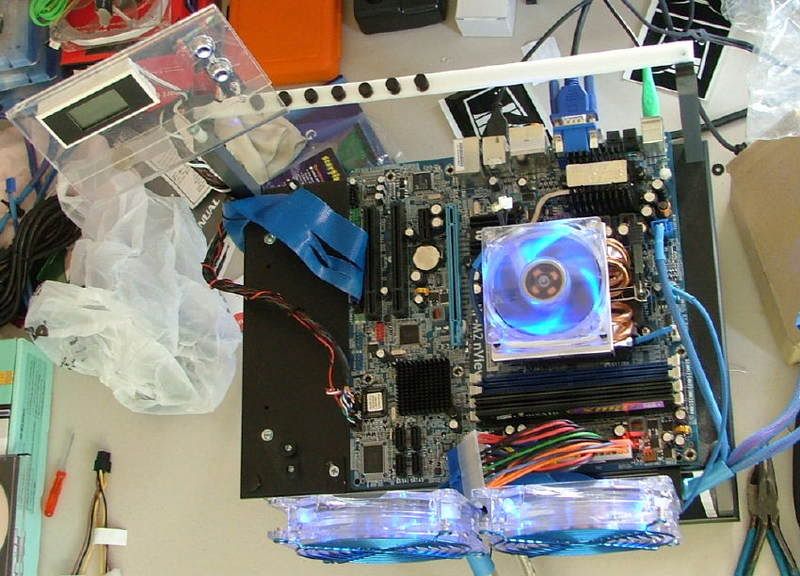
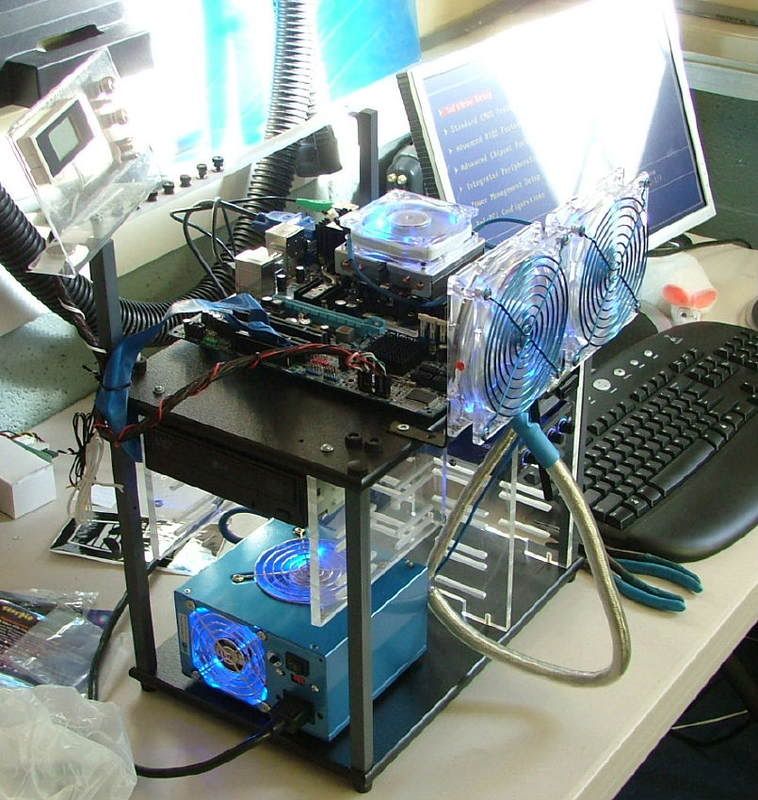
Currently using this to test and OC DreamCatcher v2.0âs mobo assembly so wanted to show it âin useâ. One thing for sure cable management isnât!
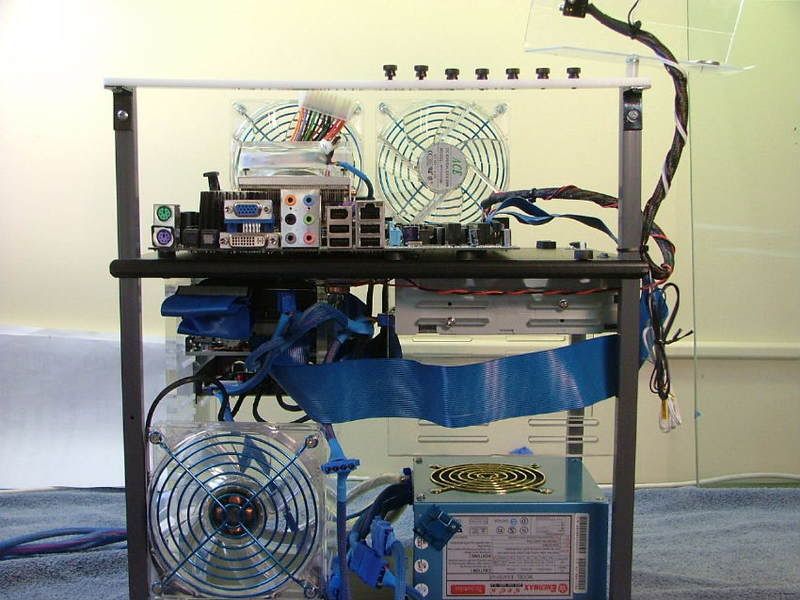  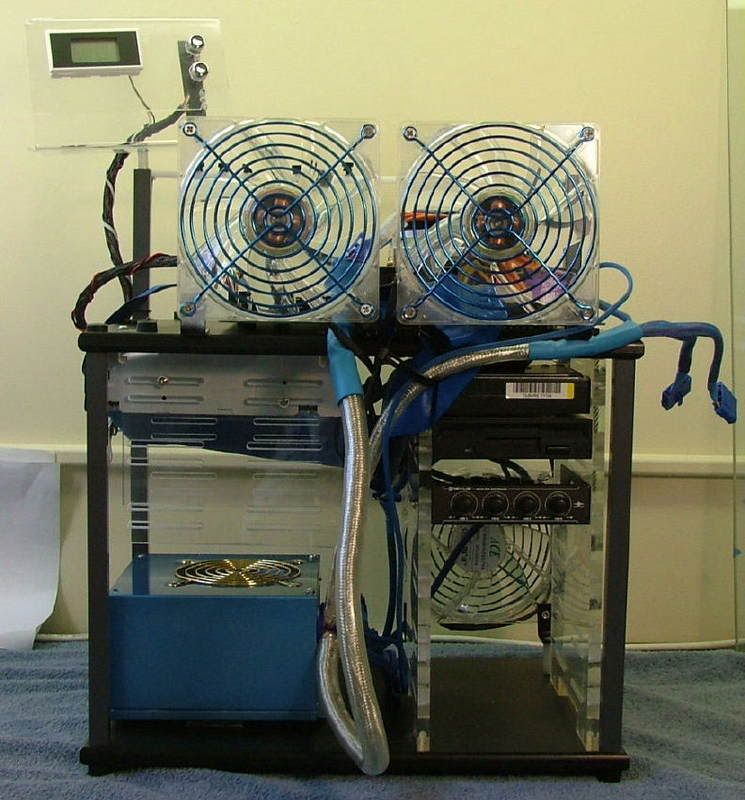
The power cable mentioned above can be seen in number 2 & 3. With this arrangement had a problem with the power ledâ¦â¦ the harness on the Station is pin-pin-blank and the abit is pin-blank-pin. However with the 3 led fans and illuminated fan controller donât think there will be a problem figuring out we have power!
Below are a couple of shots with the unit fired up the first time (had boot issues so it was back to the drawing board mobo wise). First thing was to turn down the fan speed as it sounded like a small tornado, other than that everything Station seemed to be working.
One of the last issues is software (partitioning, multi OS, yada-yada), as ideally there should be a way for me to test both ATI and nvidia GPUs. Just havenât figured out how as I sure wouldnât want to have to buy two copies of M$ Windows so I could run two separate HDDs or a partitioned drive. However for right now I'm going to ignore it! No really, decided to just set up a "new" HDD (the Raptor from Celtic Spirit) that will be used with the Abit / Brisbane combo I'll be currently testing.
Now testing and over clocking, so.......
Nope, donât need no fargging Power LED!!
  |
|