jedihobbit
Rated XXX

|
 Posted: Tue, 15 Apr 2008 21:30:44 Post Subject: Posted: Tue, 15 Apr 2008 21:30:44 Post Subject: |
 |
|
Starting the New Year & Revision 2
As stated earlier BluHaz wasnât to stay âfinishedâ for very long.
The fiasco that was the rebuild of BluHaz (Rev. 2) officially started the weekend of 02/04-05/06. The primary part began at approximately 11:00 Saturday morning with my head hitting the pillow a little after 12:00 noon Sunday.
Wanted to change over the two 60mm fans to led, install fan controller, fix the front USB ports, rework the psu, go to 1gb in memory, install the original 7NIL1 that I had purchased for it, and âtidy upâ the wiring. Had been trying to oc the thing as much as possible and I have not been able to get it to do as well as others. So I wanted to try another 7NIL1 (original) and replace the current 1GB of generic memory.
It seems âright of the batâ things âwent southâ. The blue anodized paint I was using started acting weird (drying a powdery blue that had to be âbuffedâ to show the actual color). Found a Logisys 500W acrylic psu at performance-pcs and had it sleeved. I wanted to paint the fan grills the anodized blue. It turns out they are mounted âinsideâ which required removing the cover and of course voiding the warranty. Then as I was taking the cover off all of the threaded tabs fell off. And on, and on, and onâ¦â¦â¦â¦
Listed is a quick summery of what happened and will follow shortly with pictures and âexplanationsâ
.
The Good:
1. Front USB ports function
2. Rearranged the HDD allowing me to install the fan controller and keep the FDD (I know Iâm a dinosaur!)
3. The psu looks great (just glued the cover tabs back on)
4. Swapped out the 60mm fans and the leds look sweet! Also was able to get the outside fan grill on the rear 60mm.
5. Install a Linksys wireless card and it works!
6. The network is working for internet functions (four port)
The Bad:
1. The psu didnât have enough Molex connectors for all of items. Need to order one more âYâ splitter.
2. Everything I painted sucked!
3. Can not get the printers to work on the network. Dig deeper into the manual.
4. Have a bad rounded IDE cable, have to use ribbon until I get another (Coolmax Scorpio series)
5. Scraped the paint on the fan controller when putting the âfrontâ on the case. Need to figure out how to touch up with having to remove anything.
The Ugly:
1. Had a general âwonât workâ issue when I fired up the system after re doing. Took the whole thing apart and started testing parts and ended up going back to the other mobo. Discovered a bad cable while swapping back and forth between mobos.
2. After reassembling everything my 9800XT borked and had major artifact issues. Swapped back and forth between the two power supplies and did different power cable distribution hoping that was the issue. No joy, now running with a 9600XT until I get that figured out.
Oh well, just had to continueâ¦â¦â¦â¦
60mm LED Fans
To add a little more light to the project I needed to find blue led 60mm fans. As it turns out a lighted version of the ones used were available. However I didnât want to paint the aluminum âframesâ over again. Ordered two and kept my fingers crossed. They arrived and sure enough a swap could be made. Except for the hsf, most of this was done a couple of days before the total rebuild.
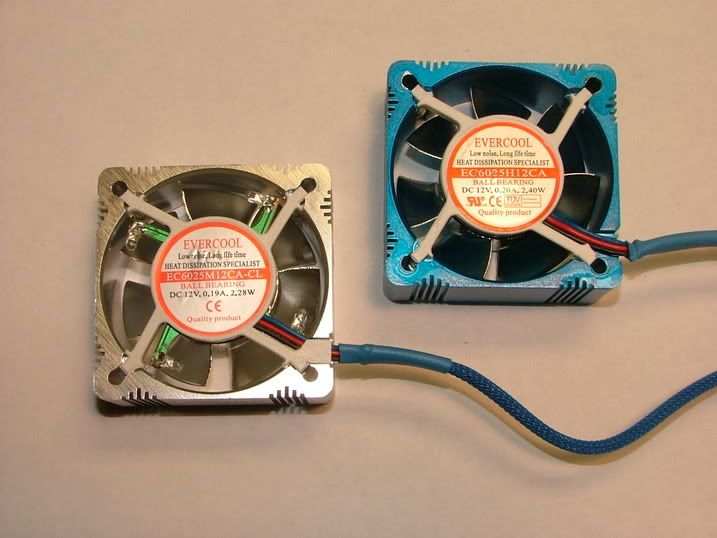
This kinda sorta shows the led pcd/placement in the fan assembly
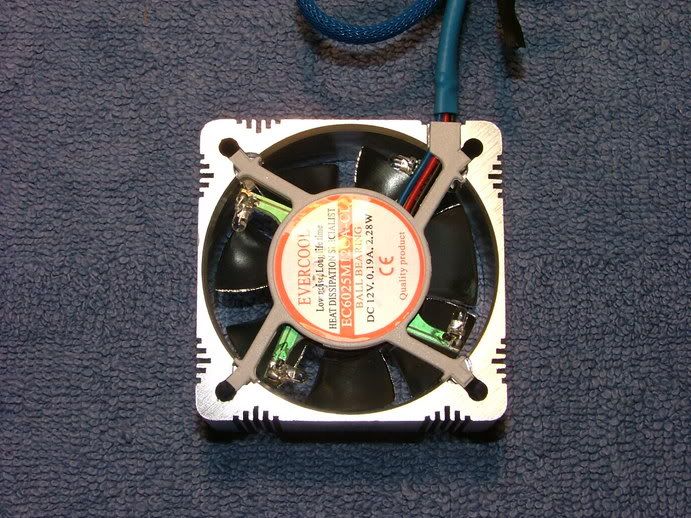
Initially just swapped out the rear fan, as I was unsure of what to do with the hsf.
It was decided to test the new fan as a unit before swapping out the bodies. Using prime95 and a fumbling attempt of using Sandra showed me that idle and load went up only 1 to 1-1/2 C with a max of 48 C once. So the swap was made.
Logisys Acrylic PSU
When assembling the original setup, the Antec 350W psuâs cabling gave me fits. There were a lot of them and long. Trying to tidy them up and hide the extra was a royal pain. Thought about sending it out to performance-pcs to get it sleeved and have some of the leads âbobbedâ off.
While checking their site I happen to click on the âspecialsâ section for power supplies and saw the Logicsys acrylic unit. It was partially sleeved, had blue led fans (itâs dark at the bottom of the case), and rated at 500W. Also it had fewer and shorter leads. Just how few and how short was realized later at assembly! Googled it and found a review that stated while not outstanding, it gave consistent voltages so going for the bling part, it was ordered and had the balance of the leads sleeved.
http://www.extrememhz.com/acrylicpsu-p1.shtml
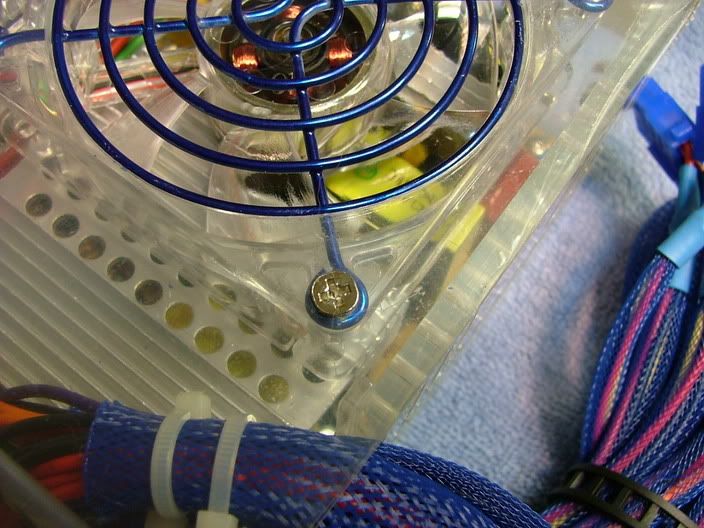
Needed to paint the fan grills, but when I went to remove them it was discovered the only way to get them off was to remove the cover â and of course void the warranty. The cover was held in place by four screws, so no big deal >> yep, sure! As the cover came off the threaded tabs fell off. As per the luck of this assembly, my super glue had dried up so in rummaging through the tool chest I found a tube of Locktite sealer/adhesive. Luckily there were âglue marksâ to use as an alignment guide.
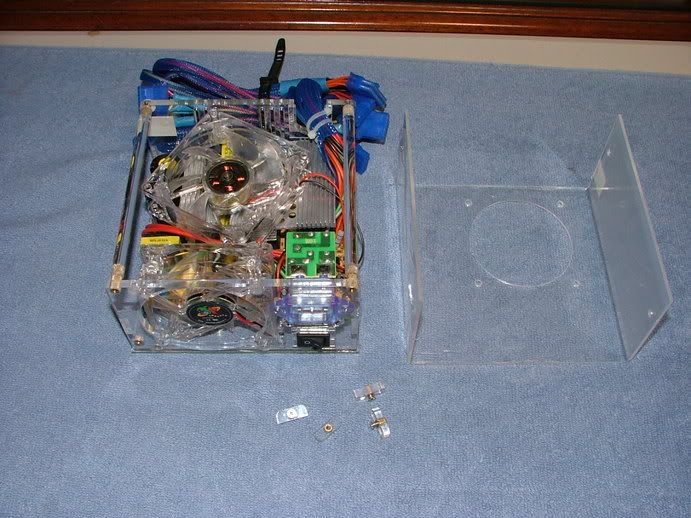  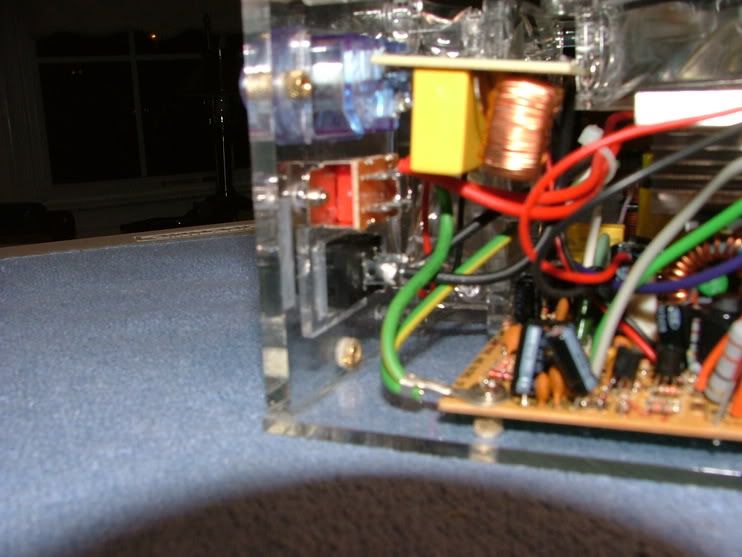
Painted the grills and had the same âpowderâ issue with the paint. The pictures try to show how the grill legs end up between the internal fan and inside of the surface.
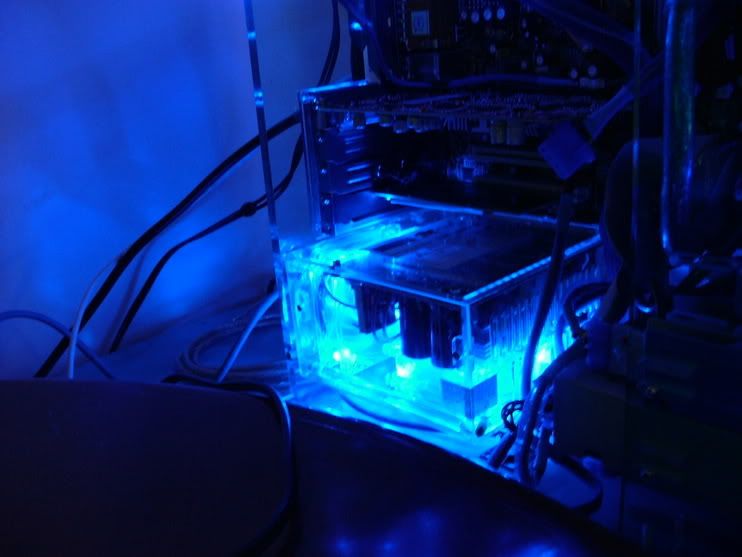
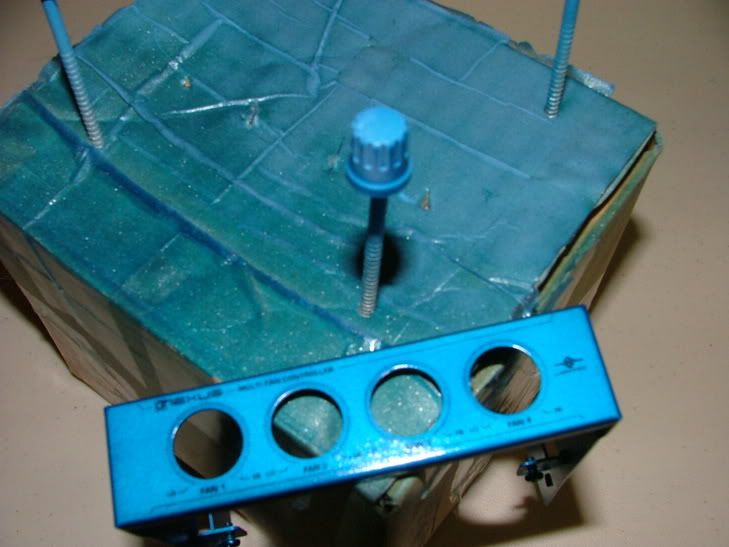
As a âteaserâ here is what it looked like in the case as I awaited the replacement parts.
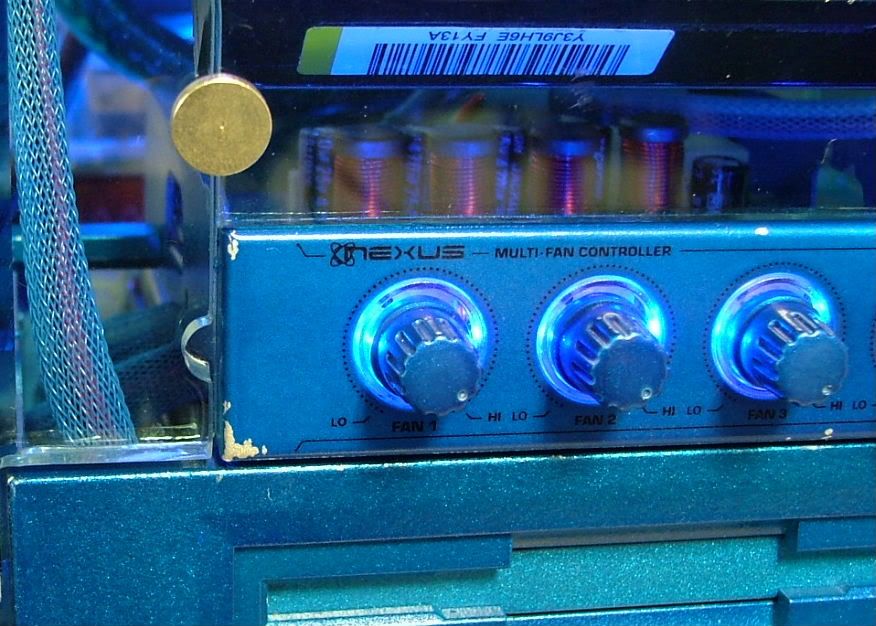
Fan Controller
Added the fan controller for the two 80mm and 1 60mm case fans. I picked up a Nexus NXP-205-SL on e-bay with great expectations and found issues already stated. The unit needed to be painted the anodized blue, so the unit was taken down to itâs basic parts >> front bezel, pcb, âcoverâ, and knobs. True to Murphyâs Laws ran out of paint Christmas weekend and had issues with the nozzle on that can.
Had concerns as to how one was to âreadâ the information on the bezel after painting, but realized one required a magnifying glass to read the text anyway. As it turned out the black lettering on the silver model is visible in direct light. The paint ran out and the nozzle was âspittingâ when I did the cover, so it needed to be repainted.
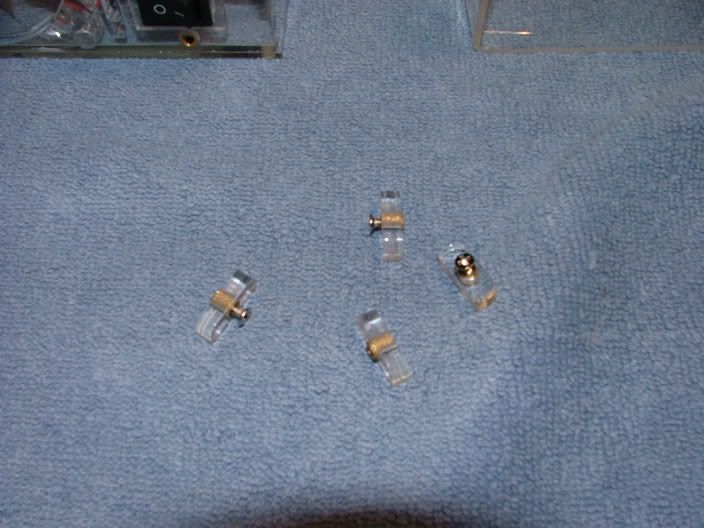
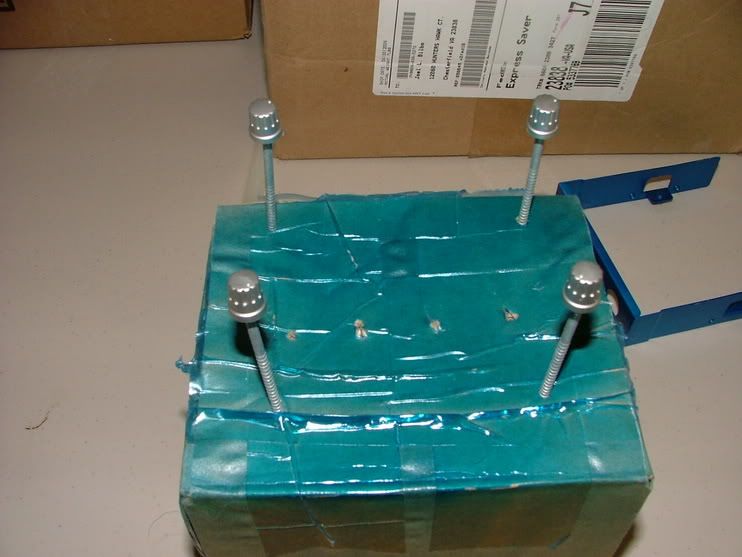
Besides the cover, the gray/silver control knobs need to be painted. The problem was how to âholdâ them. Ended up hot gluing them to nails stuck into a cardboard box. Below you see them primed and then painted. For some reason the new can of paint was giving me issues as the paint was not drying glossy, but looked like a powder. Tied to show the difference in the pic with the bezel and knobs. Ended up having to rub/buff the things to look okay.
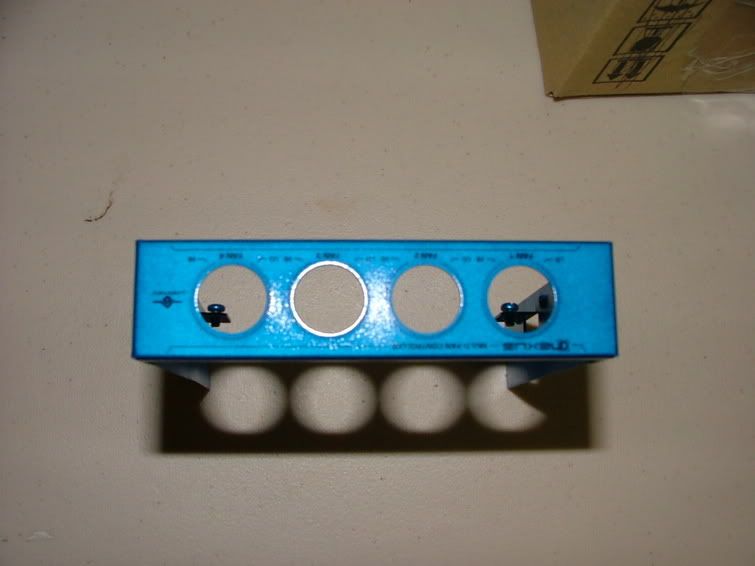
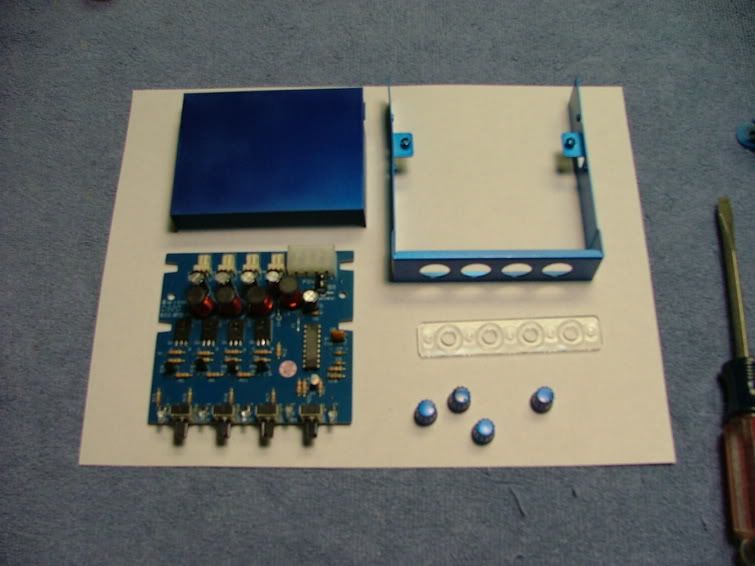
Okay everything is done, dry, and wiped down ready for assembly. Didnât take a pic of the assembled unit, but here are the parts ready for assembly. When it was all said and done, the cover didnât get used, as I liked seeing the blue pcb.
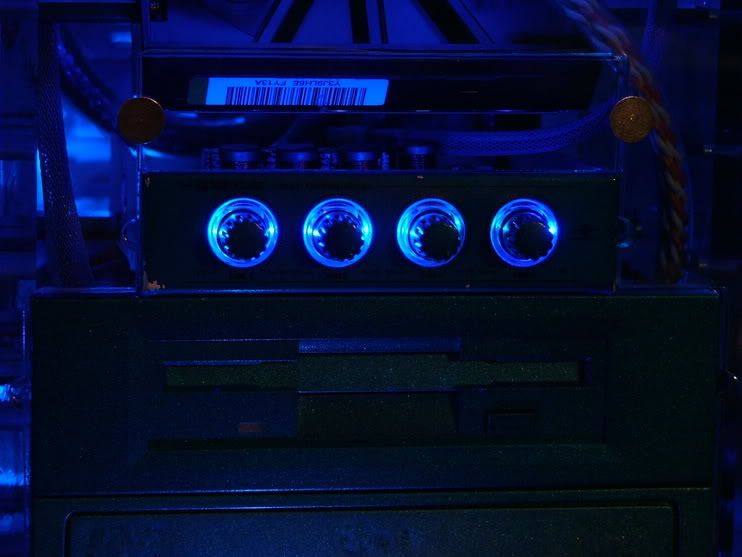
Another âteaserâ as this is what it looks like in place, glad for the dark because as you can see in the second shot it was scraped at assembly.
  |
|