jedihobbit
Rated XXX

|
 Posted: Tue, 15 Apr 2008 21:37:20 Post Subject: Posted: Tue, 15 Apr 2008 21:37:20 Post Subject: |
 |
|
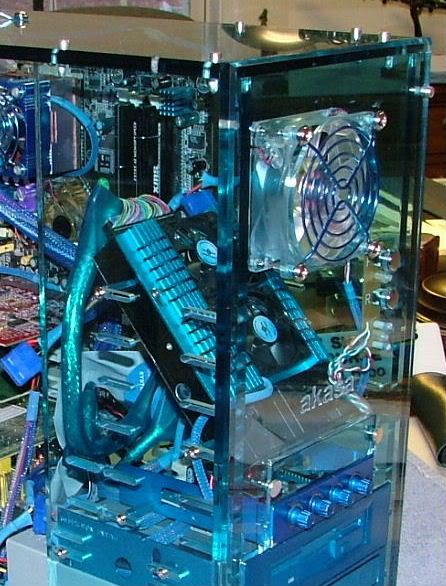
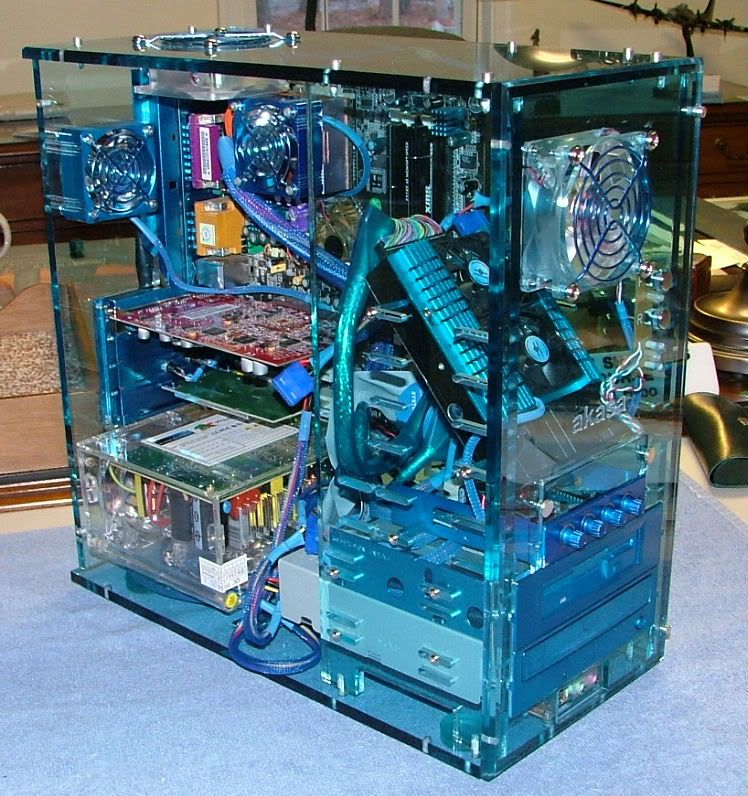
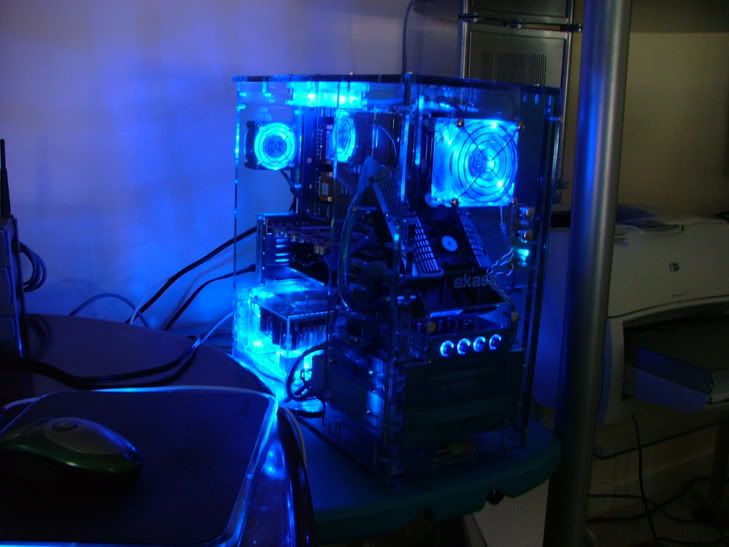
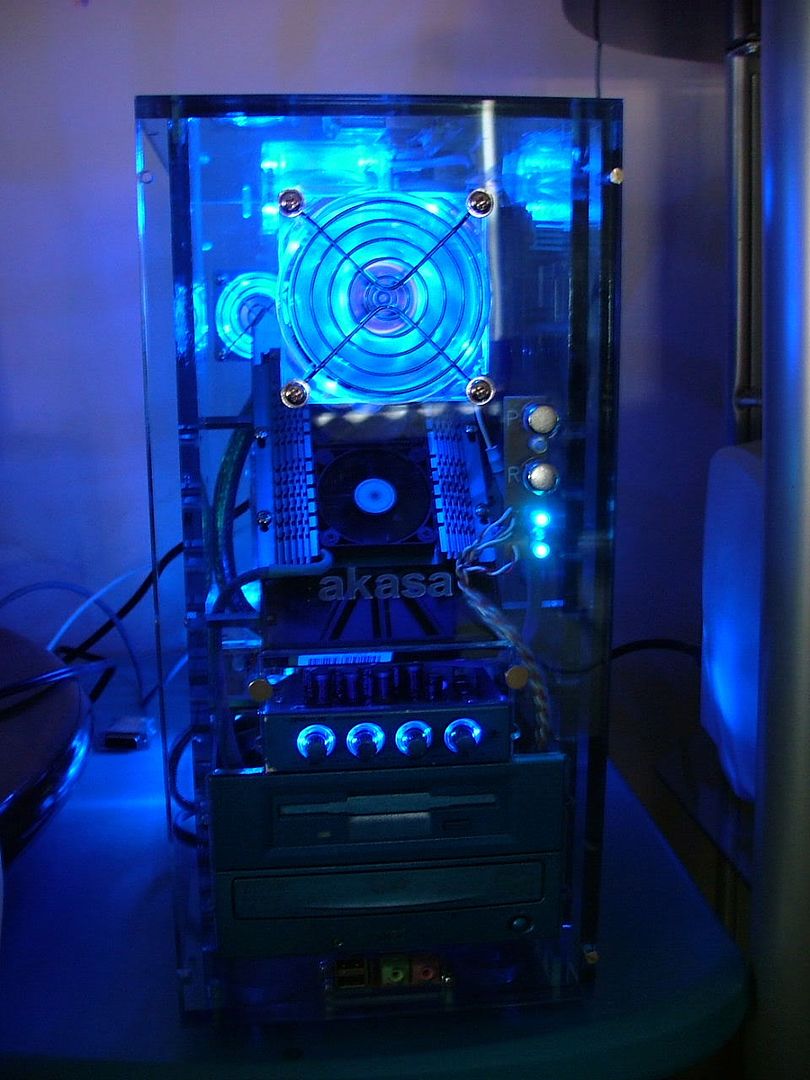
Getting Things to Fit
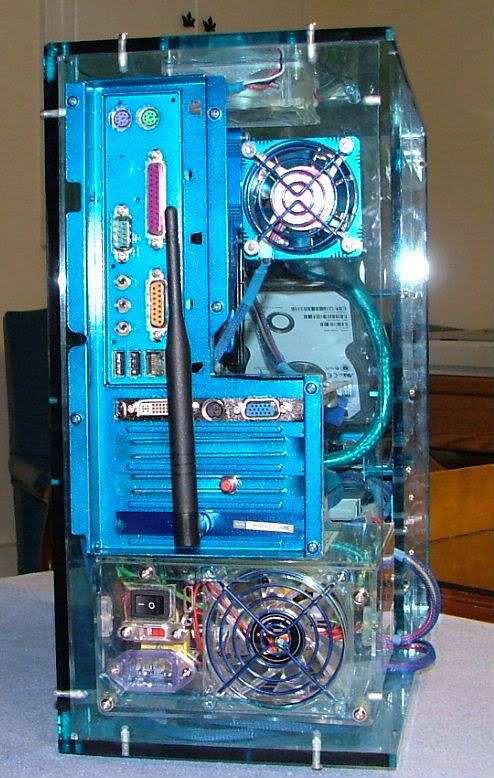
One of the primary tasks in redoing BluHaz was to figure out how to get the fan controller to fit without having to eliminate the FDD (dinosaur that I am). The culprit of course was the HDD. After moving it around, it turns out that inverting and canting it in the opposite direction from before allows the fan controller to be placed in the bottom 3.5 bay and leave the FDD in place. In the process some of the wiring/cable congestion down by the PSU was eliminated. A secondary benefit is appearance. Instead of the ugly white HDD label facing the front of the case, you now have the anodized blue HDD cooler!
 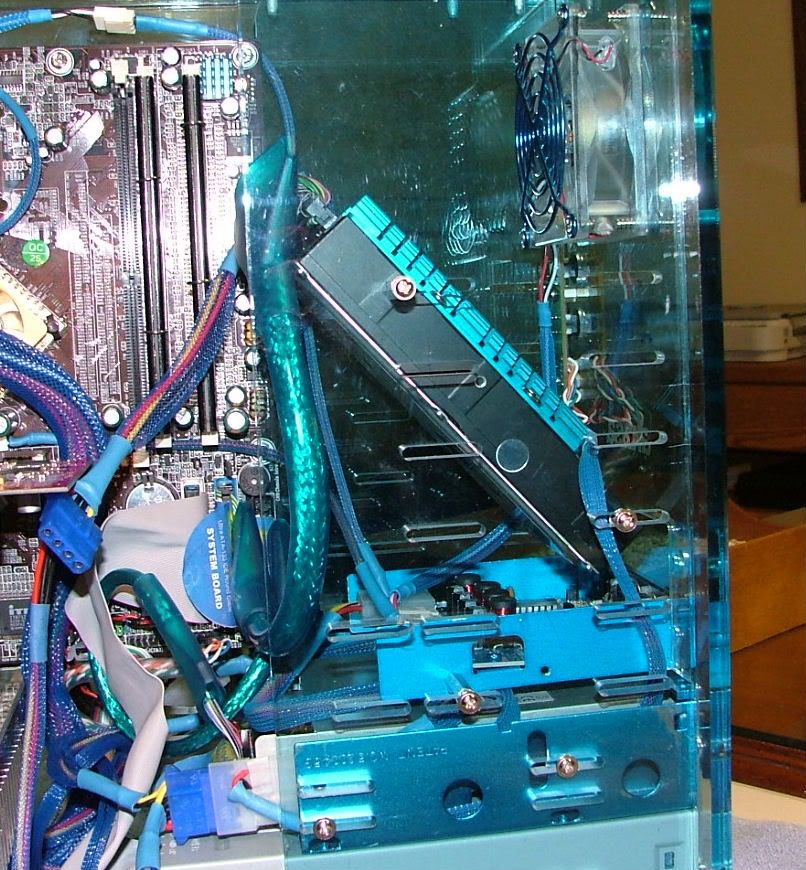
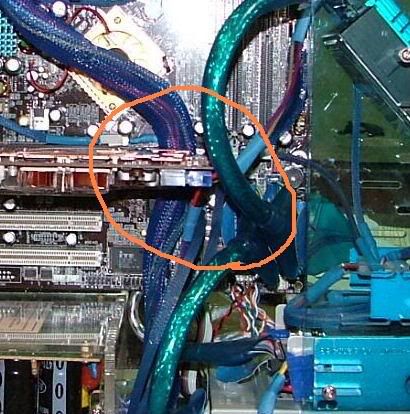
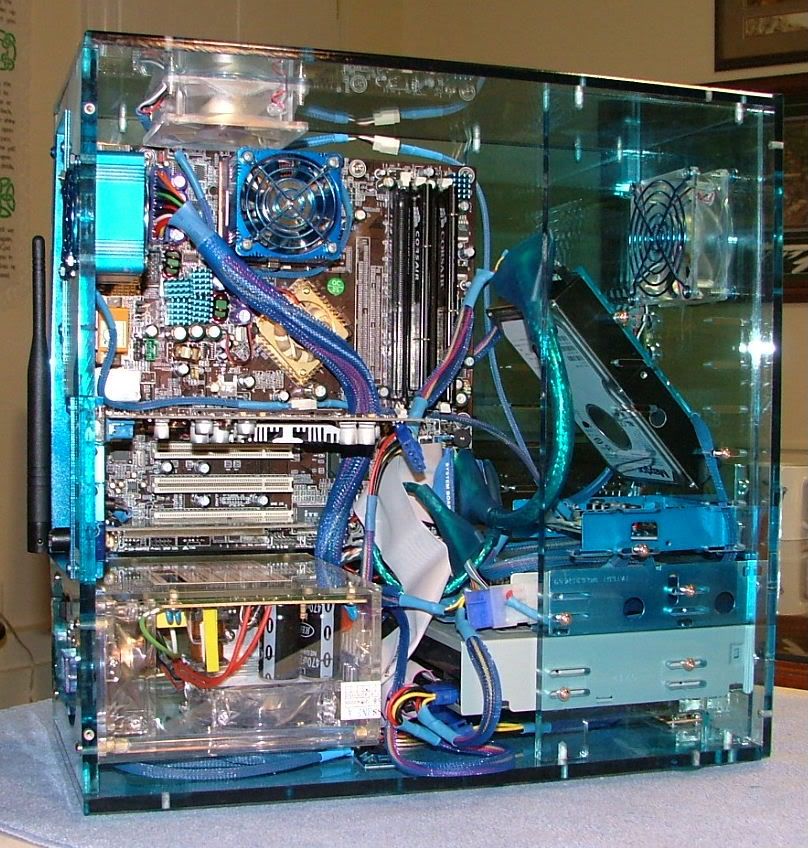
As the PSU was being installed it was realized that the cables came out from the opposite side as the Antec. This placed the cables exiting next to the mobo and somewhat more âhiddenâ. I was real lucky in this as the mobo power cable is super short. Remember in this case the PSU is located at the bottom and Iâm sure Logicsys was designed to go at the top, mounted close to the connector. This literally required the cable to run across the âfaceâ of the motherboard. Two glaring issues appeared, 1) the cable had to run under the video card at the back (somewhat blocking the AGP release lever) and 2) across the NB cooler. If one were not to pay close attention the GPU would not seat and lock fully in the AGP slot. It appears that there is enough âliftâ of the cable as not to block too much airflow to the NB cooler fan.
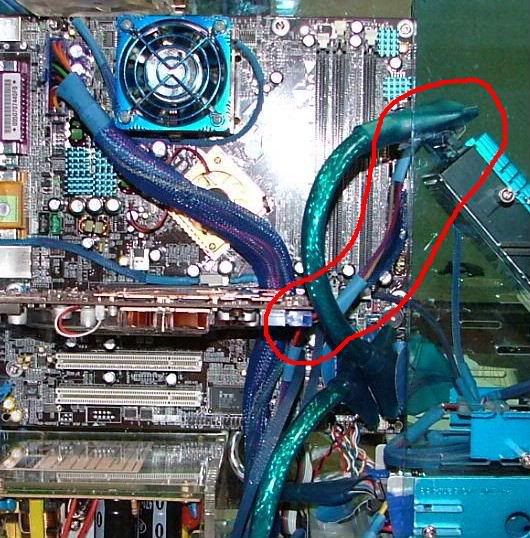
This power supply only provides two power cables, each having two Molex and one four pin connector. This requires thought as to how one is to power the optical drive, the hard drive with cooler, the FDD, a +12V GPU, fan controller, and a ârunning ledâ memory âmodâ. This requires one to be dedicated to the GPU and HDD. The other powers the optical, FDD, HDD cooler (it has a pass through plug thank goodness) and with a splitter the fan controller. That left the second plug of the splitter to some how provide power to the two plugs that are part of the mem mod. Need to acquire another splitter >> a very short one too as it is starting to get a bit tight because the first splitter has 10 â 12 inch leads.
Front USB Ports
One of the problems left over from the first assembly was the font USB ports didnât work. When I had everything disassembled, I removed the PCB assembly that holds the front audio as well as USB ports and plugged them to Oz1âs mobo to see if the problem was the PCB, not at the mobo. It worked, so back to checking the hookup in BluHaz. As the mobo connector is individual plugs (as opposed to a single plug) and Iâm a fumble thumbs â had to come up with something easier. I have found putting them in order to match the mobo and then taping them to form a plug has helped. Was reminded of this when I pulled the header plug in Oz1, had it figured out four or five years ago and had forgotten!
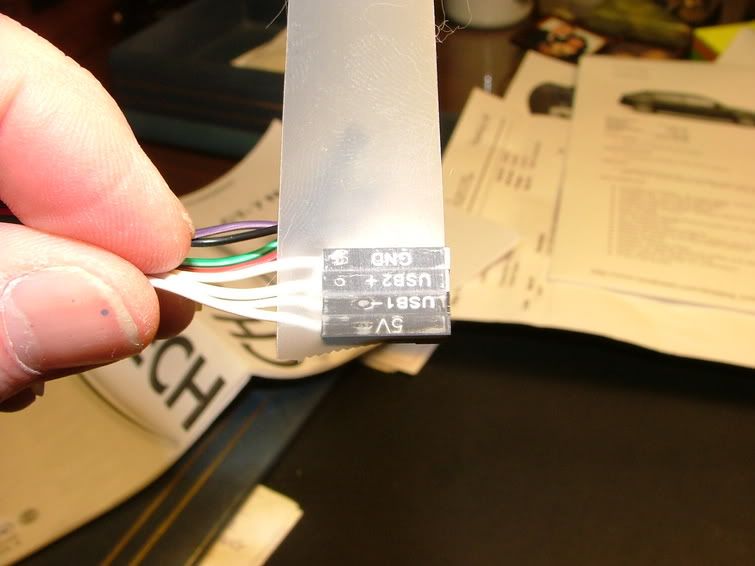 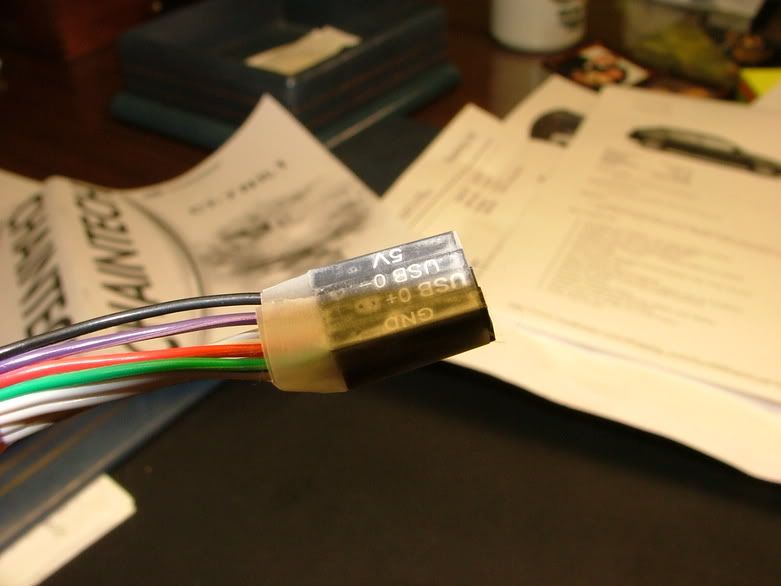
Turns out there must be something wrong with the first header as the ports still didnât work, but when plugged into the second one I had success
Put It Together
Somewhere around 22:30 Saturday night, I was feeling good because of having been able to get everything painted, assembled, and pretty much finished. Attached everything and powered up and ta da >> major boot issues and it just got worse. Here is where I was tearing the system apart and putting back together, changing mother boards, power supplies, power connection order, using âmagic wordsâ, and being generally frustrated and discouraged.
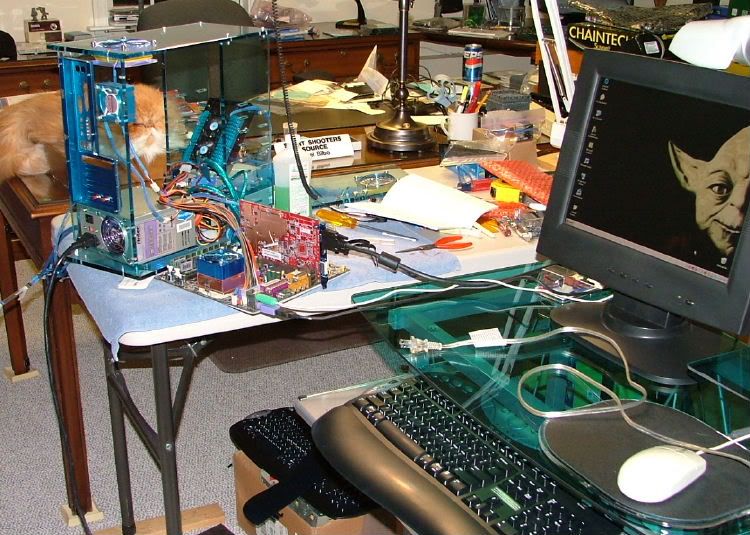
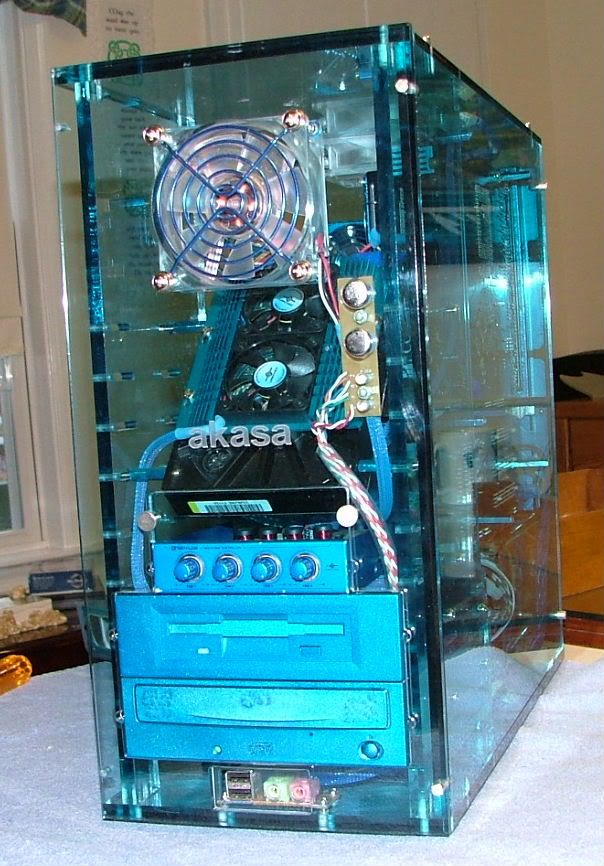
The following are pictures as the unit is now running waiting for the replacement IDE cable, âYâ splitter, and decision on a GPU.
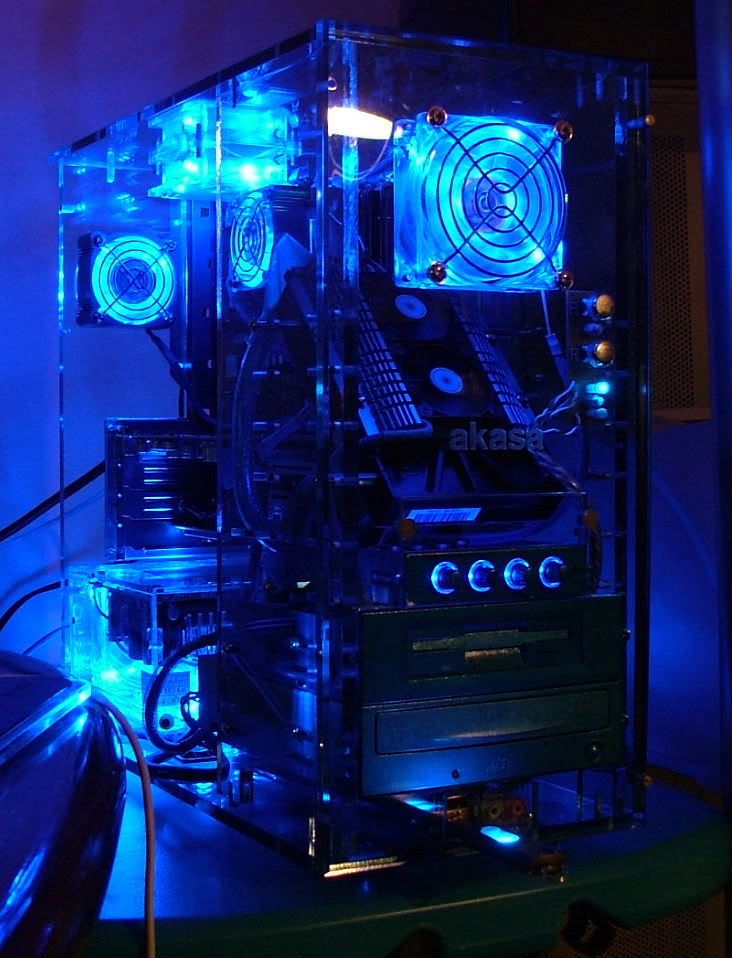
Some night shots checking the lighting
While all of the stuff was being worked on my GPU issue was resolved because of a forgotten bid over at e-bay. And the winner is >>>>
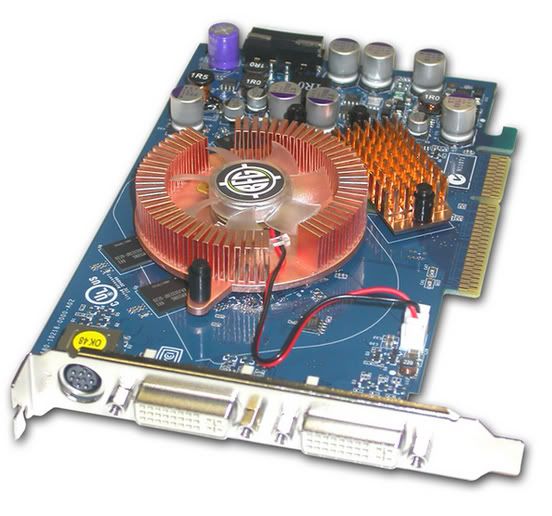
BFG 6600GT OC
02/23/06
Interestingly enough the 6600GT is a wee bit shorter than the 9800XT and the mobo pwr cable is not getting as pinched. After getting my initial install issues resolved we seem to be puttering along quit well until I make a final decision on wither to change out the mixed memory and go to a 2800+ in trying to maximize the âfinal configurationâ.
As far as the fan controller is concerned it âappearsâ to be more bling than function. Iâm only using (testing) at the max and min settings. While there is somewhat of a noise reduction (not sure what my âelectronically enhancedâ ears are picking up) it seems to only vary one to two degrees at idle or âloadâ. Load has been basically Prime95 and a sad attempt at running Sandra â no gaming yet.
The thing that has caught my attention is the led fan on the cpu is not keeping up as well as I had hoped. At first is seemed to only allow a degree of increase over the non-led version, now it appears to be â to 4. I have gotten up to about 53 - 55 C while using the above mentioned testing â should I be concerned? When I make up my mind on the cpu (2600 or 2800) might reapply the goop and reseat the hsf.
03/12/06
Work on BluHaz has kinda slowed down 'til I figure out how to get a little more umph out of the cpu or replace with the 2800+ .
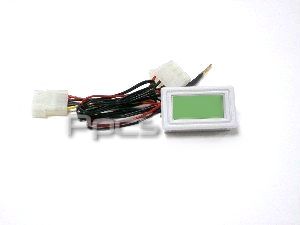
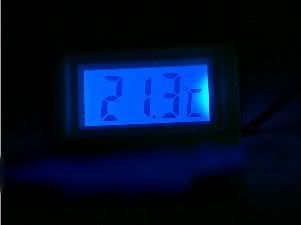
I was using MBM5 to monitor temps, but not totally happy with them. Tripped across a temp gauge at performance-pcs and liked it because it is not battery powered and has a âblueâ back lit screen.
03/08/07 Close Out of BluHaz
Well this will be the last entry in the BluHaz work log. The adventure continues as it is being upgraded to Skt. 939. So this will be the final/finished Socket A version.
Now head over to BluHaz reDux for the ârest of the story.â |
|