With all of the high performance cooling devices available for computer components, the northbridge seems gravely overlooked. Dozens of manufacturers have you covered on choices to cool your CPU, GPU, drives, and case, but there really isn't the selection of high quality coolers for northbridges. The choices are even more scarce when it is a Pentium 4 motherboard with 'hooks' for mounting the cooler. Microcool has recognized this issue, and offers the NorthPole Chipset Cooler with Hook Adaptor to help keep your Pentium 4 chipset cool.
If you are not familiar with Microcool, you may not be alone. Microcool is an Italian company that offers a line of products focused on "providing high level cooling systems"... "able to guarantee maximum reliability of your computer under any operating conditions". It definitely sounds like they are targetting overclockers to me, who should be very interested in a new solution to get the most from their systems. Northbridges tend to run warm to begin with, and are generally not fitted with the best cooling by motherboard manufacturers. Couple this with the added stress and heat developed by overclocking, and the northbridge can be the weakest link in trying to reach an extreme overclock.
NorthPole Basics:
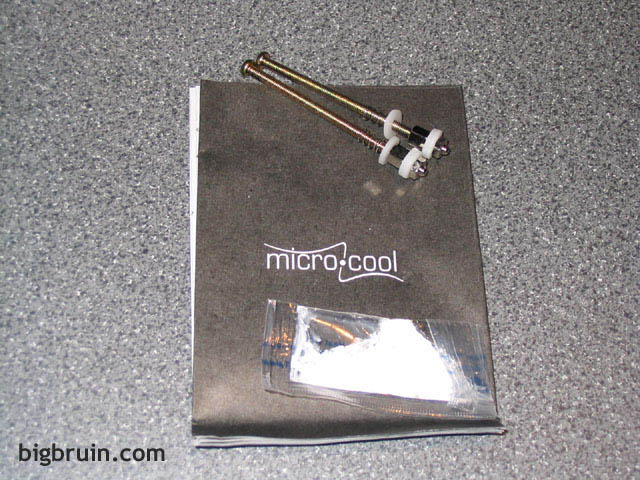
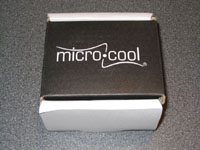
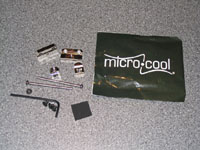
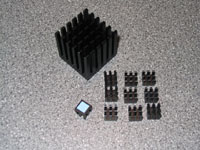
The NorthPole is sold in the package shown in the below left image, and the below right image details the items included in addition to the NorthPole. There is a small user's guide, a packet of thermal paste, and two sets of mounting nuts, bolts, springs, and washers intended for use on an AMD based motherboard. The springs and one set of washers are needed for use on Intel based boards, and should be removed to compliment the contents of the Hook Adaptor kit.
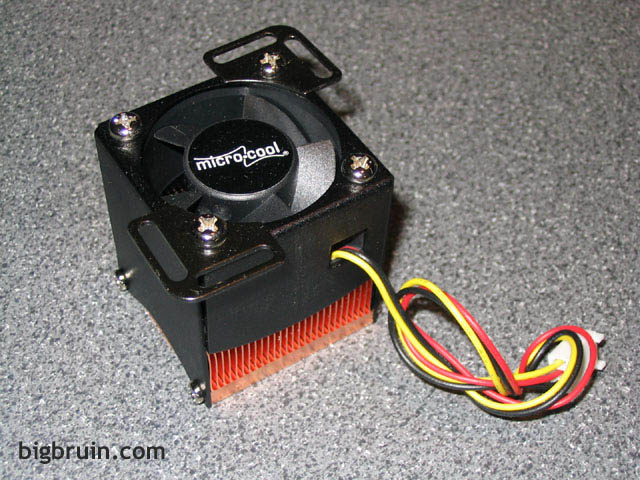
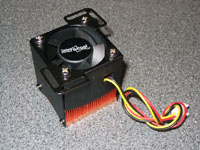
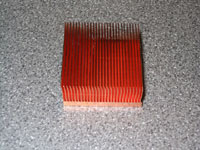
The images below show the NorthPole ready for use on an AMD system. The fan on top is a Sunon Magnetic Levitation unit with the following specifications: 40x40x20mm, 10.8 CFM @ 8200 RPM, 27.5 dBA, 1.6 watts, .13 amps, 12v DC, standard 3 pin Molex connector. The fan is attached to the black shroud by four screws, which is in turn attached to the copper base of the heatsink by four more screws. On top of the fan are two tabs which are used to attach the mounting bolts to an AMD based motherboard, and accept adaptors for use with Intel based motherboards.
 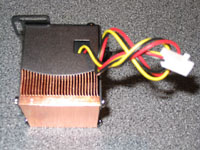
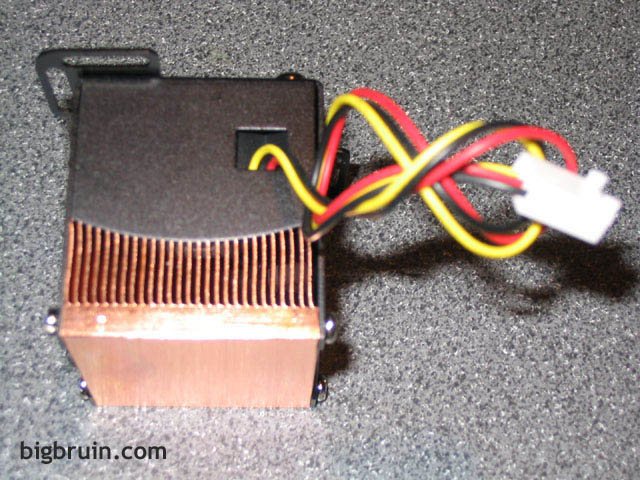
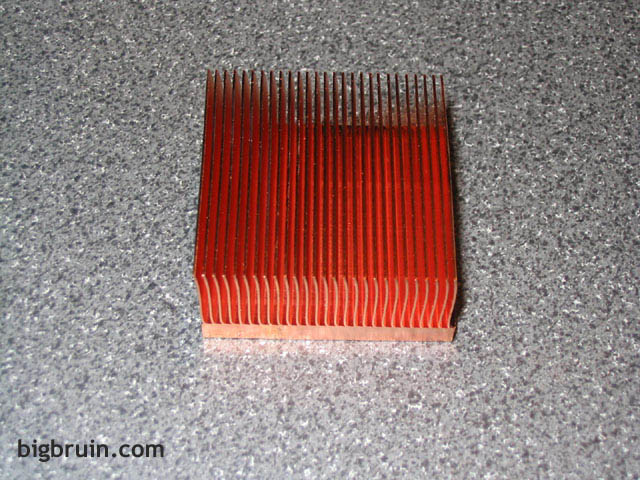
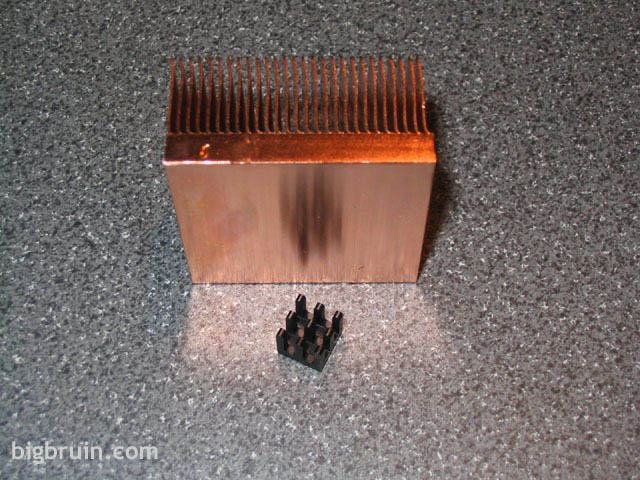
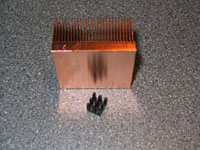
The images below show the copper base with the fan removed. For a chipset cooler the design is quite substantial, with dimensions of 46x43x51mm, and a weight of 195 grams. 26 fins are skived into the block, but plenty of solid copper is left at the point of contact with the northbridge. The below right images gives a glimpse of the finish found on the bottom of the cooler, which is very flat and much smoother than most CPU heatsinks I have seen.
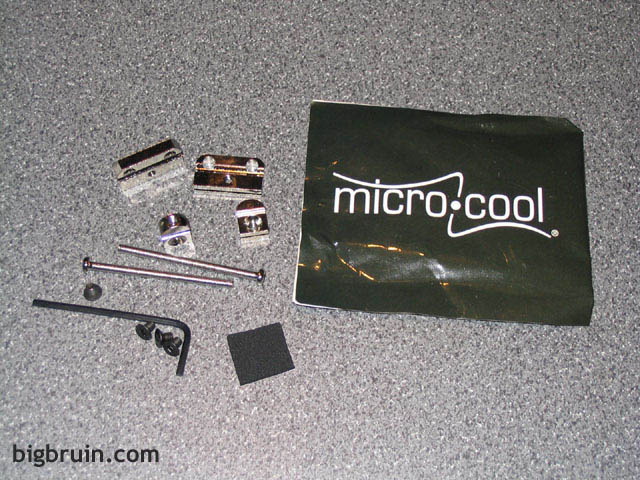
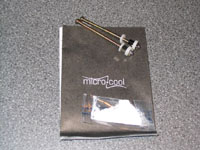
The Hook Adaptor components are shown in the image below, and are only required for use on an Intel Pentium 4 based motherboard with hooks embedded in the board for mounting the heatsink. Everything required is included; two chromed adaptors with set screws to mount to the hooks, two larger chromed tabs with set screws that mount to the top of the NorthPole, two mounting bolts, a set of 4 felt pads with adhesive backing to mount to the board under the NorthPole, and a small allen wrench.
Owners of AMD based boards with through holes around the northbridge can use the NorthPole and the hardware included, without having to buy the Hook Adaptor separately.
ChipSink Basics:
According to the Microcool site: "ChipSink is a complete family of passive heat dissipators, studied specifically for the correct cooling process for integrated motherboard chips, such as: frequency generators (PLL), power supply regulators (MOSFET), chipsets that control the peripherals (SouthBridge) and integrated controllers (RAID, SATA)." The ChipSink kit ships with various sizes as described by Microcool below, and include the quantities included for each size.
South Sink: heat dissipator for the Southbridge chipset... 1 included.
PLL Sink: heat dissipator for frequency generator (PLL)... 2 included.
MOSFET Sink: heat dissipator for power supply regulator (MOSFET)... 6 included.
Micro Sink: heat dissipator for small chips... 10 included.
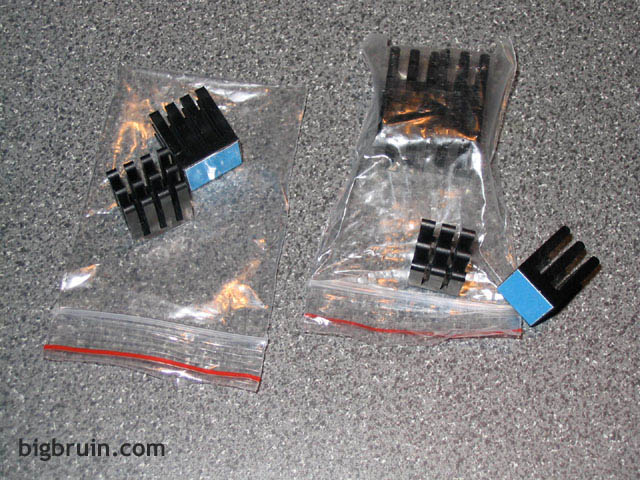
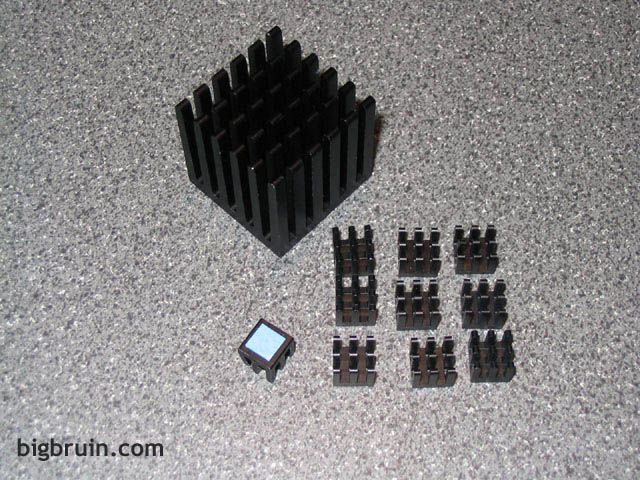
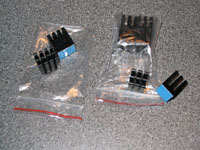
The below left image shows the 2 PLL Sinks on the lefthand side, and the 6 MOSFET sinks on the righthand side. The below right image shows the 1 South Sink, and the 10 Micro Sinks. Each and every sink comes with thermal adhesive pre-installed, which makes installation a snap... Just peel away the blue plastic film and stick the sink where you want it.
Installation:
Installation is not particularly difficult, but is more involved than your typical hook mounted cooler which just pops on or off in a matter of seconds. The installation guide on the Microcool site is clear and backed up with helpful images. The installation for this review features an Abit IS7-G i865PE based motherboard (and the images show a different brand of chipsinks installed previously on a Gigabyte Radeon 9600XT video card and other motherboard features).
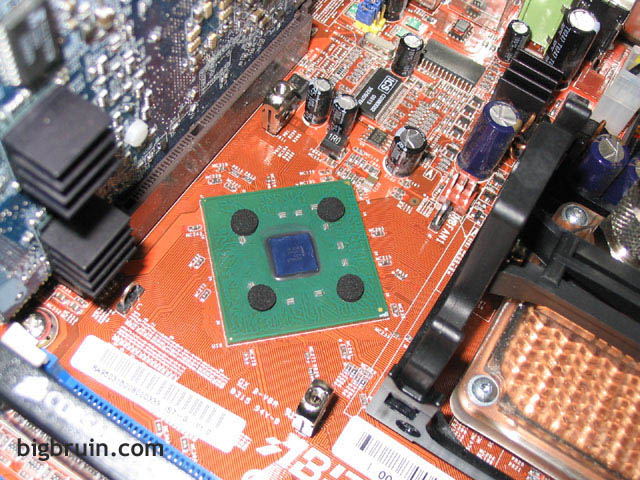
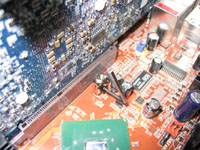
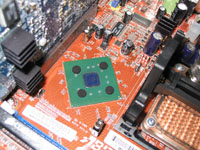
The below left image shows the first step in the installation (after the old cooler was removed). Two Hook Adaptors were installed on mounting hooks in opposite corners. A set screw is used to secure them to the hooks with the threaded hole facing away from the motherboard. The below right image shows the two Hook Adaptors installed, as well as the 4 felt dots stuck to the motherboard surrounding the northbridge. These can help protect the chip from cracking due to uneven pressure and provide a wider base than the chip itself for the much larger heatsink to rest on.
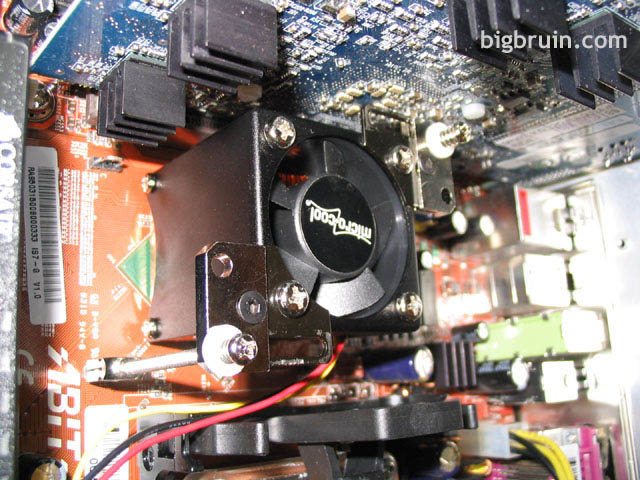
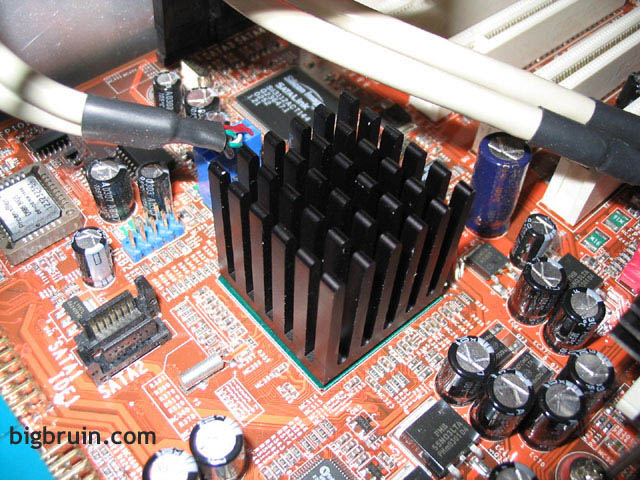
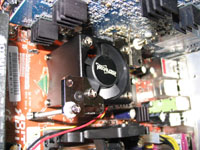
The below left image shows the final installation of the NorthPole, which took about 15 minutes from start to finish, including the time I needed to read the manual and remove the old heatsink. This image shows the tabs attached to the top of the NorthPole, which extend the 'wingspan' and allow the bolts to easily reach the Hook Adaptors. The below right image shows the South Sink installed on the southbridge of the Abit IS7-G motherboard.
 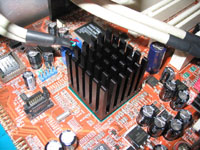
Upon first installation of the South Sink I wiggled it back and forth and it came free rather easily. This concerned me at first, so I started my system with my tower case laid on its side, so gravity would hold it in place, if the adhesive were to fail. After a few minutes of uptime, the adhesive became stronger, and not only would it not come free, but it wouldn't wiggle any more. The same was true with other ChipSinks I installed. It appears that they require a little bit of heat in order to form a secure bond with the mating surface.
Please read on to the next page for more... Next
Page 1 | Page 2 | Home | Forum | Review Index | Page Views:
|
|