jedihobbit
Rated XXX

|
 Posted: Wed, 09 Apr 2008 01:23:01 Post Subject: Posted: Wed, 09 Apr 2008 01:23:01 Post Subject: |
 |
|
Early May, 2006
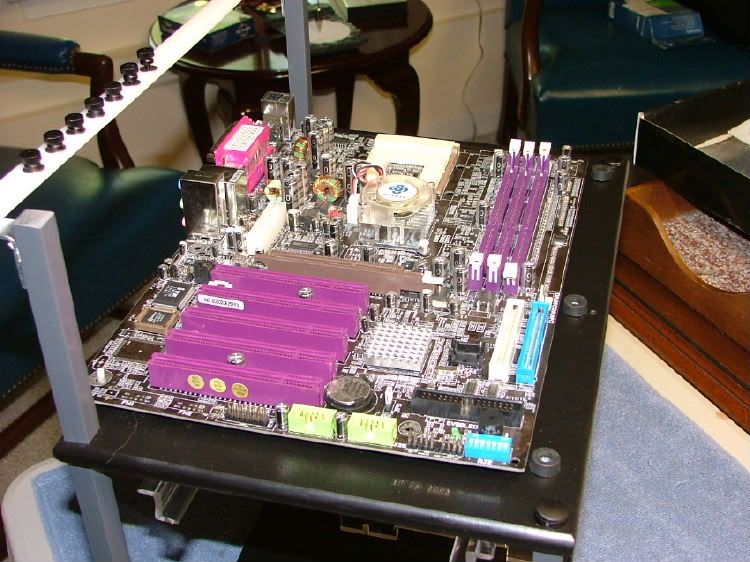
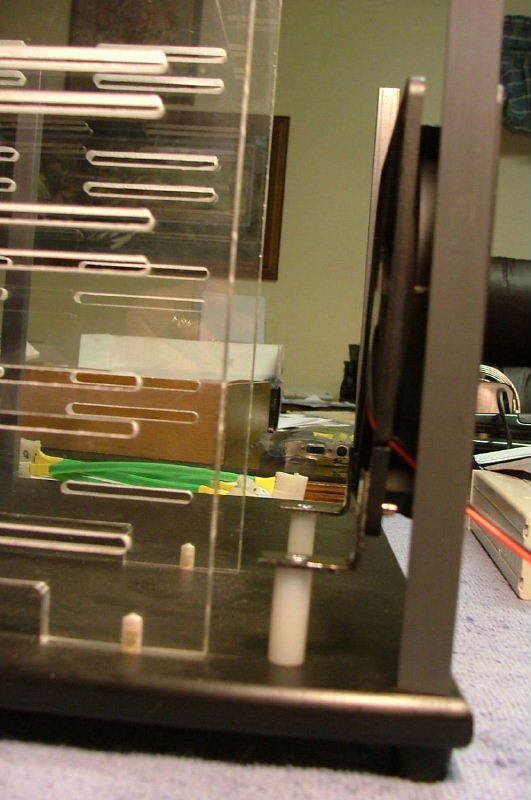
Never leaving anything alone, I had already begun to make changes! One was a necessity, which was to add three more mobo pad/standoffs
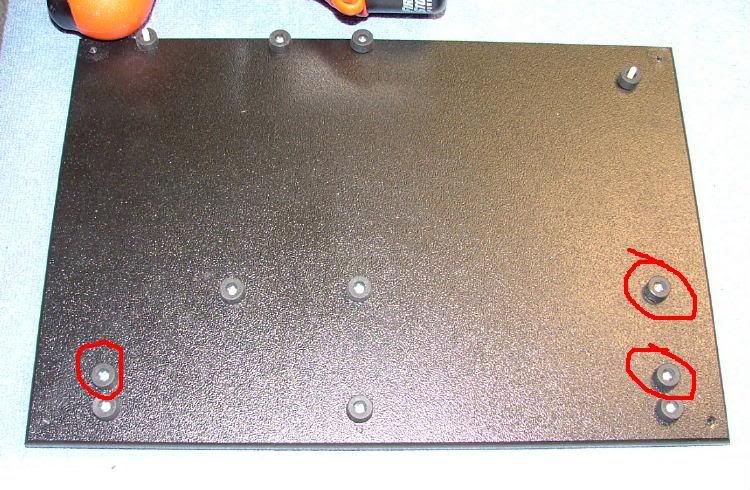
Why? A âthirdâ size in mobo!! Look to the right and youâll see that the edge of the mobo is too narrow to rest on the âstockâ size mobo pads.
As mentioned earlier this station was to be a temporary home for Celtic Spiritâs hardware. The 3 HDDâs were taken care of but not the original Digital Doc 5+, 52X CD-R, and CD-RW/DVD-RW. The plan had been to make sure every thing ran before boxing it up!
And because of this the original mounting rails for the optical drive (refer back to the multiple views and youâll see the original designed location) werenât going to work, so what to do? Ahhh yes, the tops of the A.C. Ryan side plates used for the HDDâs! They needed to be shortened to allow room for the PSU to go underneath. Here are a couple of pics showing first fitting
Since a minivanâs worth of stuff was crammed into a sub-compact the fit is tight to say the least. HDDâs would have to be in-place first, then the optical needed to have all the cabling done first before sliding all the way in.
While it is apart I tried to figure how to mount the fan for the HDD area. The problem; attach it under the top made it too high, but if mounted on the bottom shelf itâs too low! Then again the only real âhotâ HDD would be the Raptor, so if I mount it below the FDD (archaic arenât I) I could go the high road. Or then again mount all of the HDDâs in the lower three spots and hope the SATA cables are long enough.
Have to say though HighSpeedPC defiantly has a nice product here and look forward to seeing what their next version will be like!
Sometime Earlier in 2007
As usual was only able to work on it sparingly and did a lot of âdesigning on the flyâ to get to this point.
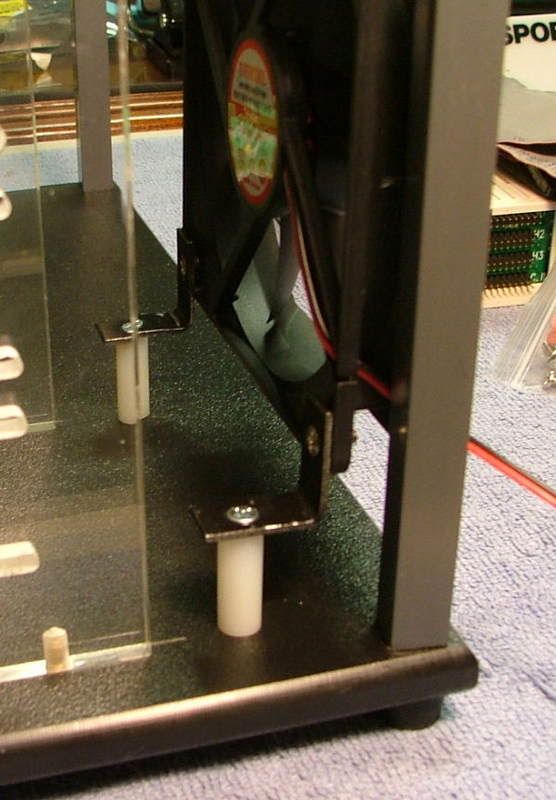
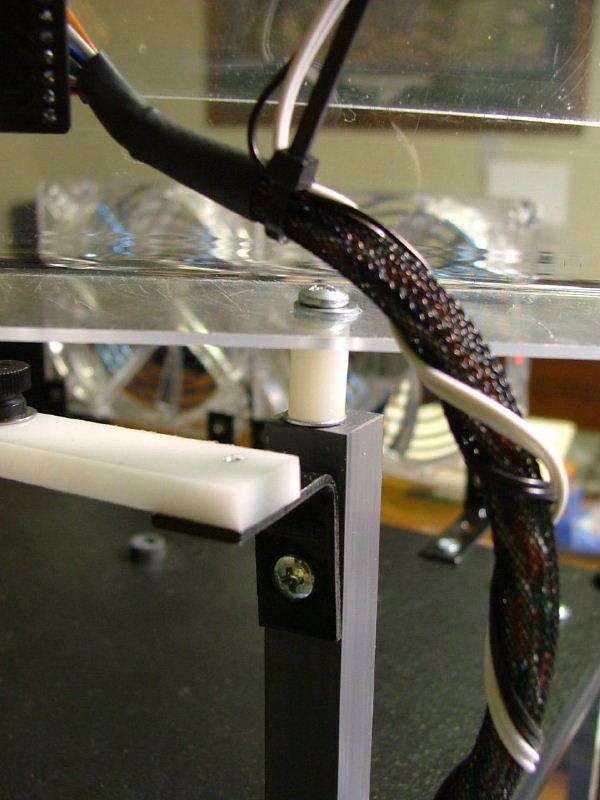
Kinda sorta âsolvedâ the location of the 3.5 drives cooling by using the provided 120mm fan and two of the 1â standoffs that came with the station. For aesthetics, I lined up the outside edge of the fan with the outside edge of the station âlegâ. This also allowed space for any cables that may be in the area. Also to give it more of a finished look I painted the provided 1â angles black. As a matter of fact I also painted the two 1â brackets used to mount the PCI âtie down barâ.

To provide extra cooling on the topside for the mobo components, two more 120mm fans were added. Originally more 1â brackets were acquired for this duty, however while laying out the how & where of mounting the 2 fans that idea was dropped. It seems because of designing âon the flyâ based on the mod done to the large tech station I keep forgetting I do not have the same amount of room!
To somewhat âimproveâ the issue, 2â brackets are used instead. First the âlegâ that is mounted to the fan was shortened and then these were also painted black. It was decided earlier to mount them on the top of the platform to give a little âelevationâ to the fans. Because these brackets come with two mounting holes per leg I consider them as being âadjustableâ!
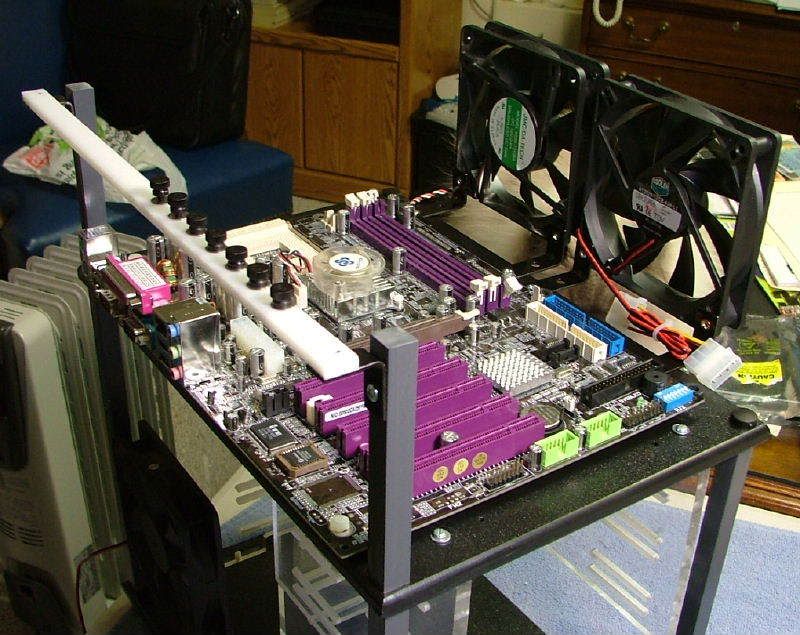
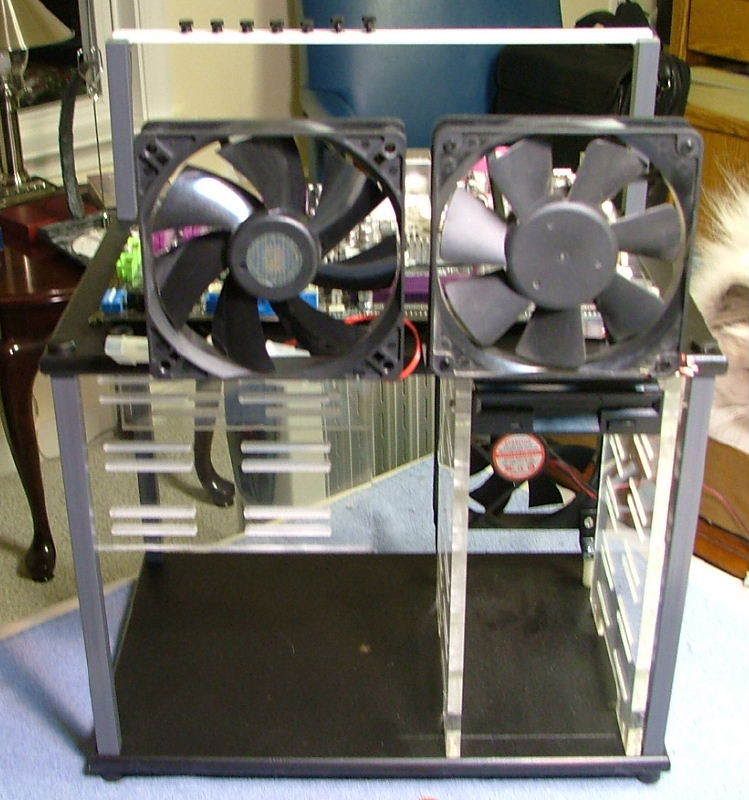
The two fans were mounted for mockup purposes but for S & Gs I thought about using LED fans for âblingâ. The âon the fly engineeringâ caught up with me as I drilled the mounting holes using the 1â bracket. It turned out the larger ones used are wider, and add to the equation of having to locate the brackets against a couple of the rubber mobo standoffs some binding and offset occurred.
March - April, 2007
Again because of the âothersâ a limited amount of the âfabricationâ work went on during the other two builds, but a couple of âah s**tsâ stopped everything âtill I could pay more attention.
While working with the optical drives in the 5.25 bay area it was apparent that my spacing had error in the minus direction. So I re-drilled the clearance holes and still had to âwobbleâ the holes to make them slotted.

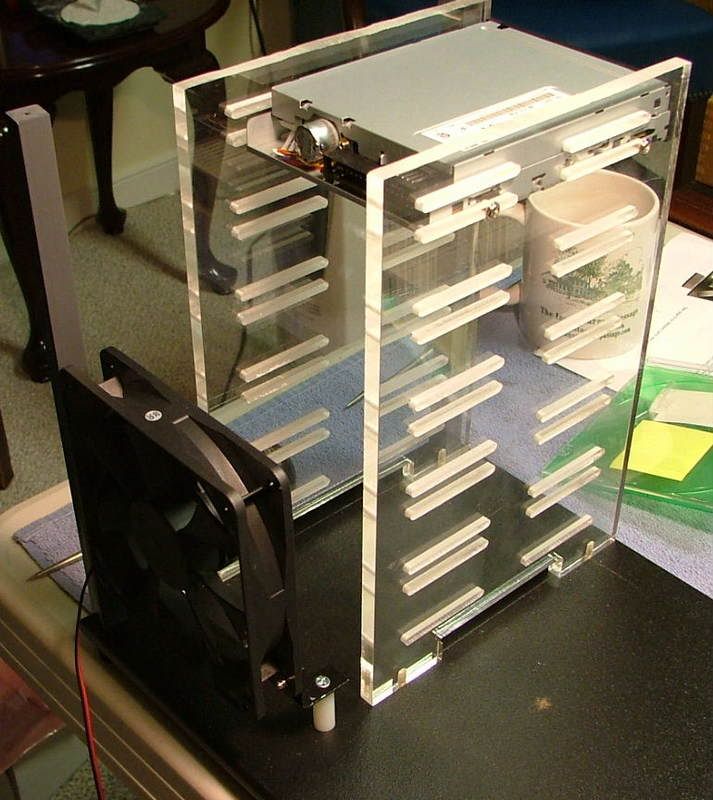
It seems I could mount a 5.25 item in the two lower areas without issue, but would have to loosen the cage mounting screws to get anything to fit in the top area. Also will have to order a ânewerâ generation of CD/DVD-Rom as the one I was going to use is close to 8â deep. This puts the rear very close to the 3.25 drive cage. Here is one of my earlier mockup shots showing this:
In working with BluHaz reDux & DreamCatcher Iâve learned the newer ones are less than 7â deep â that will help the connector / cable space requirements.
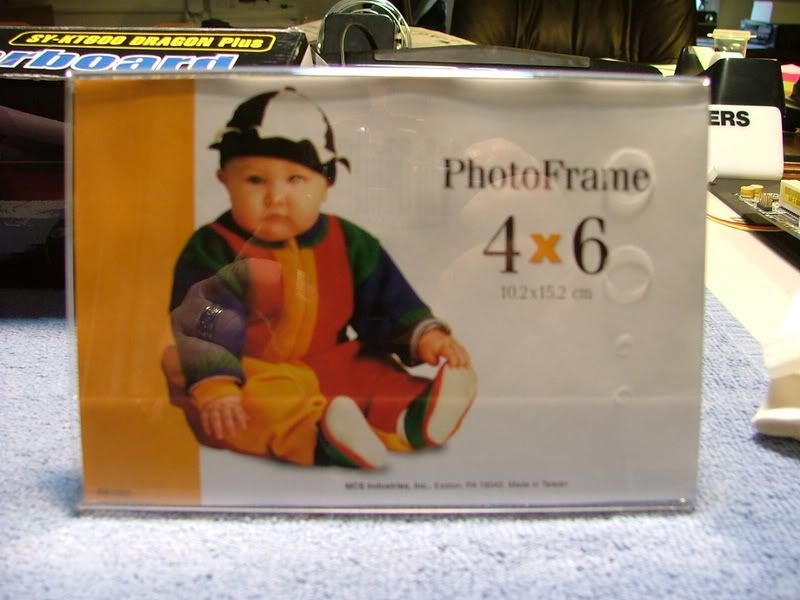
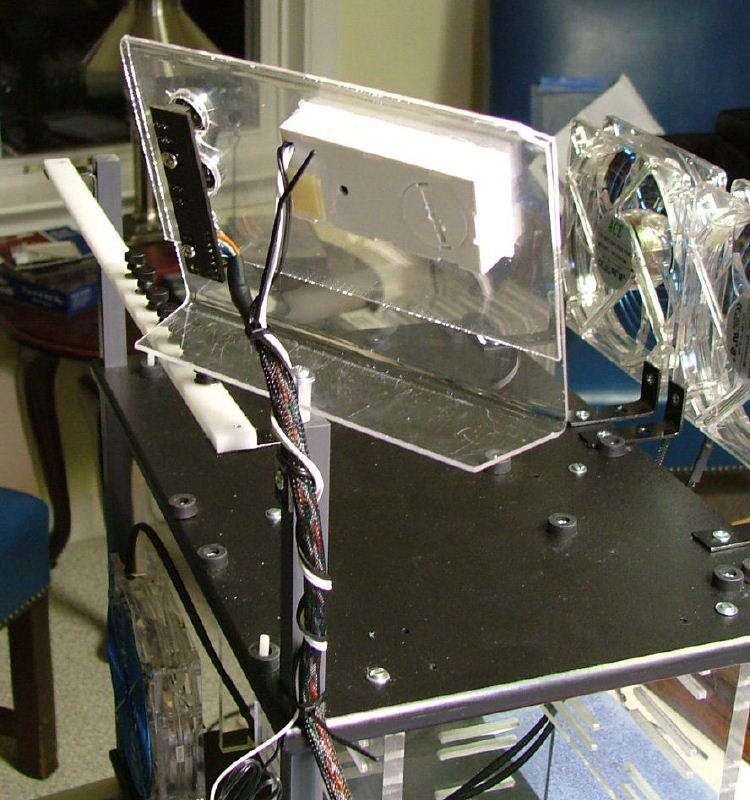
Now what does a picture frame have to do with the build? Had another one of my âwild hairâ âdesign on the flyâ ideas. HighSpeedPC provides a âkitâ with speaker, power, reset, HDD led, and power LED they are individual units on 3â â 4â leads. Having these mounted directly to the mobo just didnât appeal. BluHaz reDux has a neat little PCB with all of stuff hard wired, and after a lengthy search I found one. Also I picked up a small dual lead LCD temp gage for the station (remember this thing started when all I was using was Skt. A). Now I searching for a cheap, quick, and âdirtyâ way to mount these. Enters the frame. You know, one of those cheap ones where you slide the picture in. When I finally got around to doing the cutting and drilling found out it was not the best of choices. The plastic is fragile and you get all of the cracks, splits, and things. Was too far into doing this when this really showed itself, so finished it as is and maybe down the pike look for an alternative.
 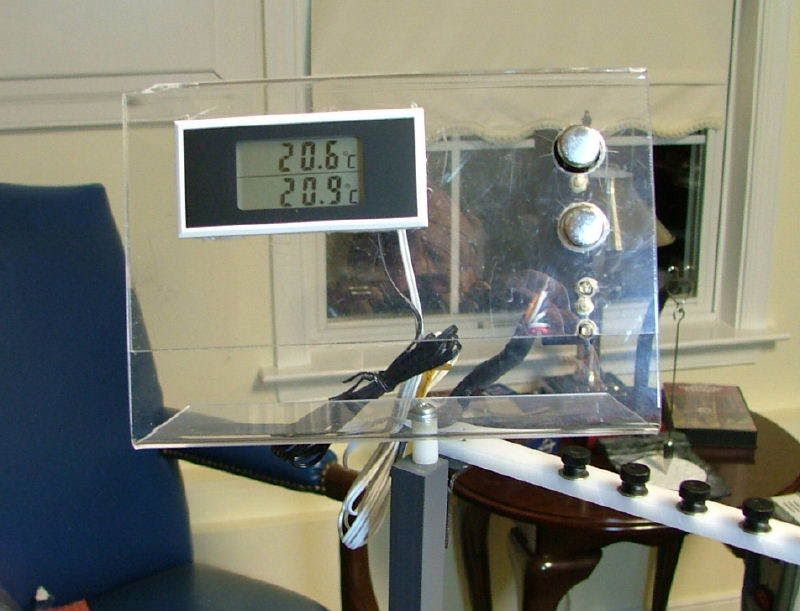 
Borrowing one of the left over nylon spacers, several washers, and a screw made a âswivel baseâ so as to be able to access the buttons and view the temp gage from several directions as needed.
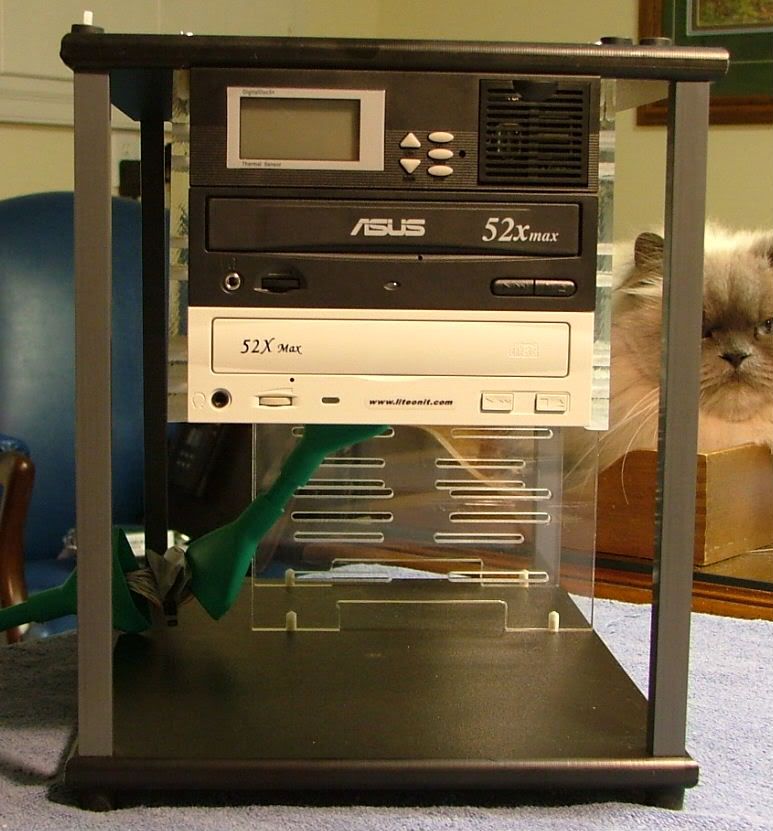
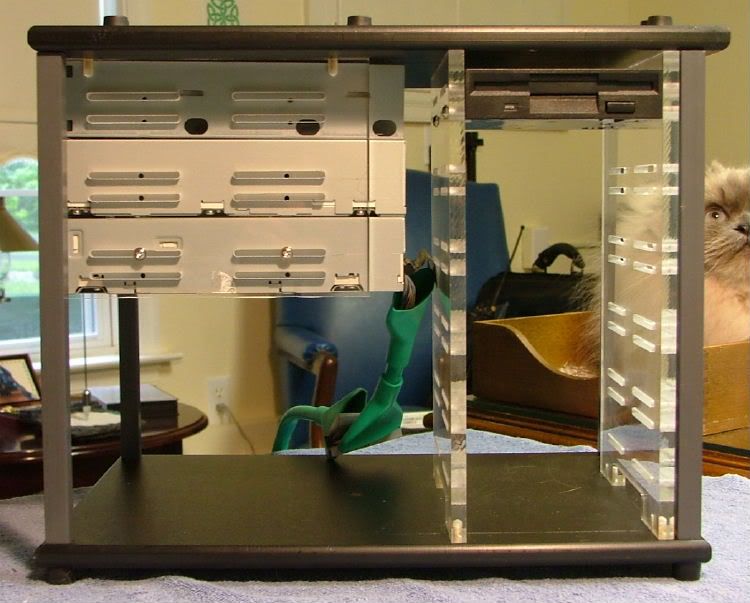
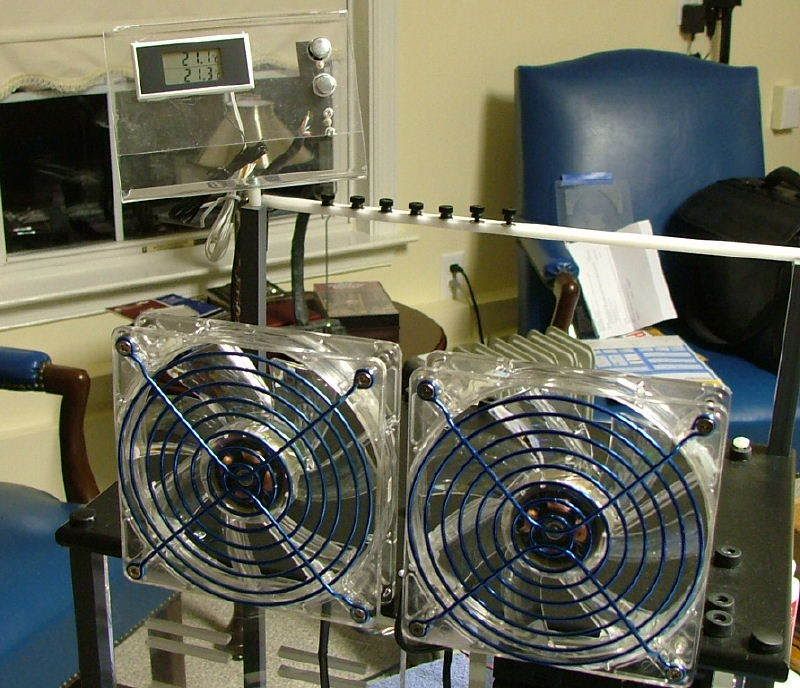
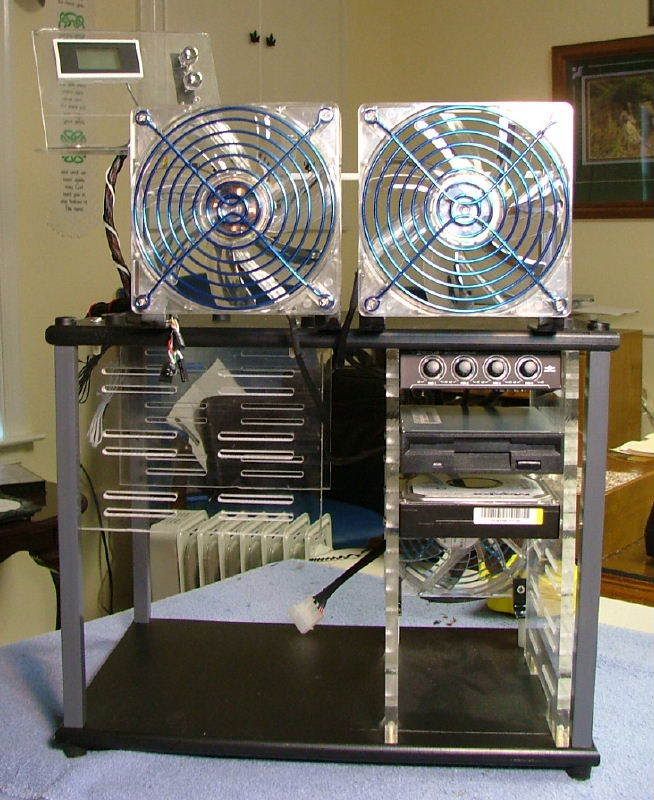
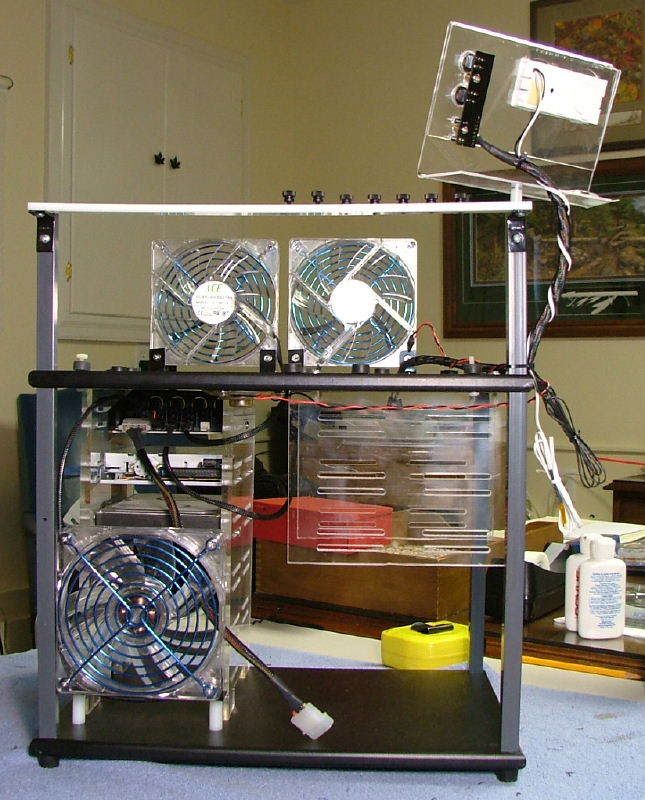
Got my LED fans in and mounted, painted the fan grills âanodizedâ blue, and started trying to figure how I wanted to mount stuff. Started with the 3.25 cage and supposedly itâs three âfixedâ items â fan controller, FDD, and HDD. Until I really start âhooking things upâ a mobo the FDD and HDD are in flux. Trying to figure how I would route the communication cables and more than likely go âretroâ and use ribbon cables (optical drives, etc. too). Here you have âFrontâ, âSideâ, & âRearâ views as it now stands.
   |
|